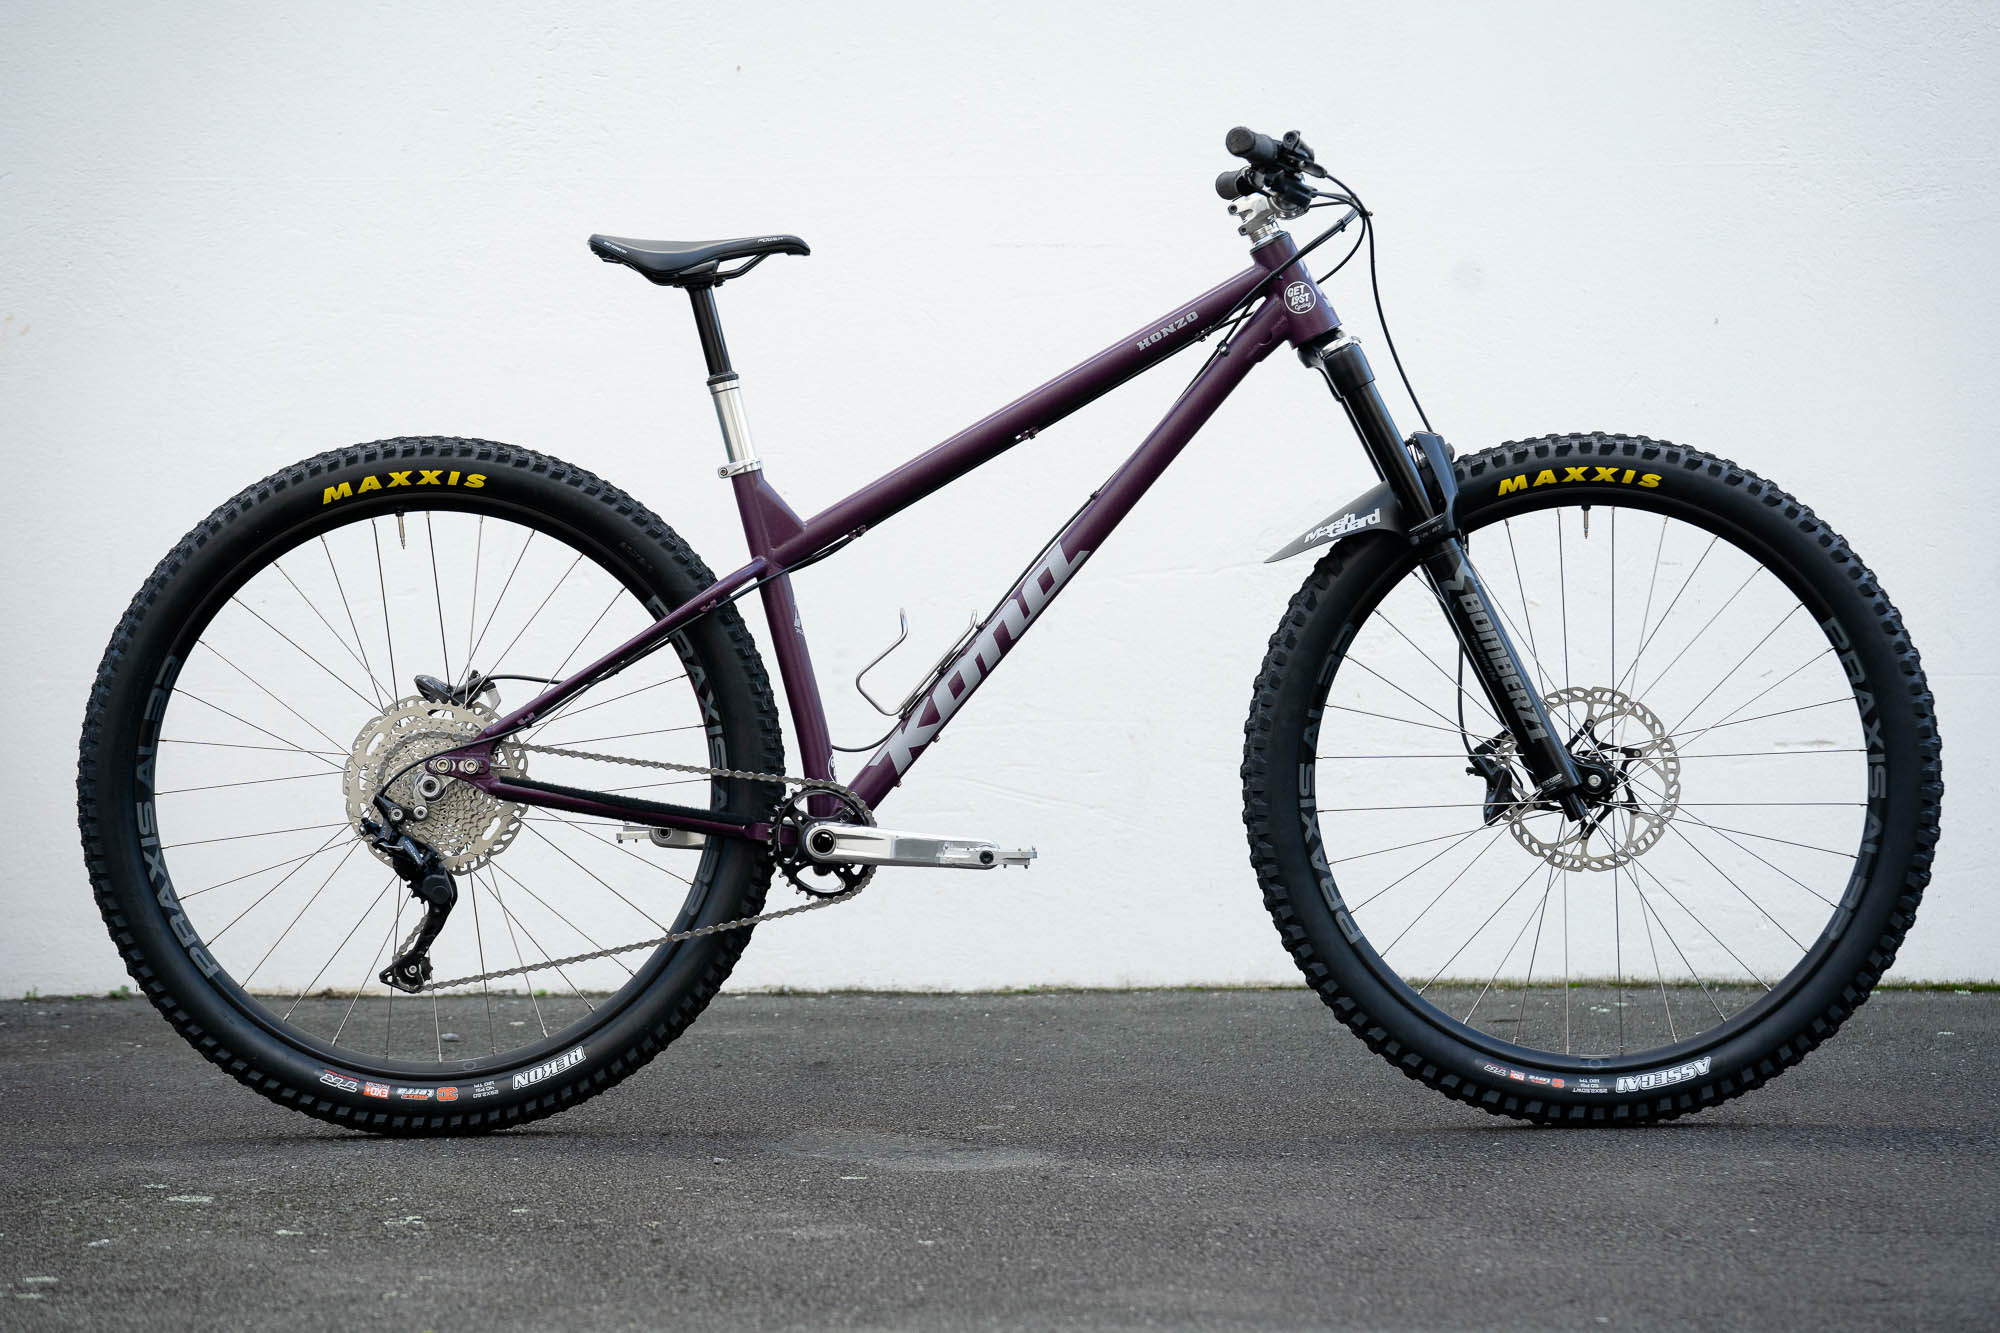
Here’s Jake Hood’s story of the laborious process he went through crafting his epic dream build…
I’ve always been a hardtail fan. It’s what I grew up on. It’s what I learned all my fundamental skills on and it’s the bike I hopefully will always have. They are simple, elegant and easy to understand.
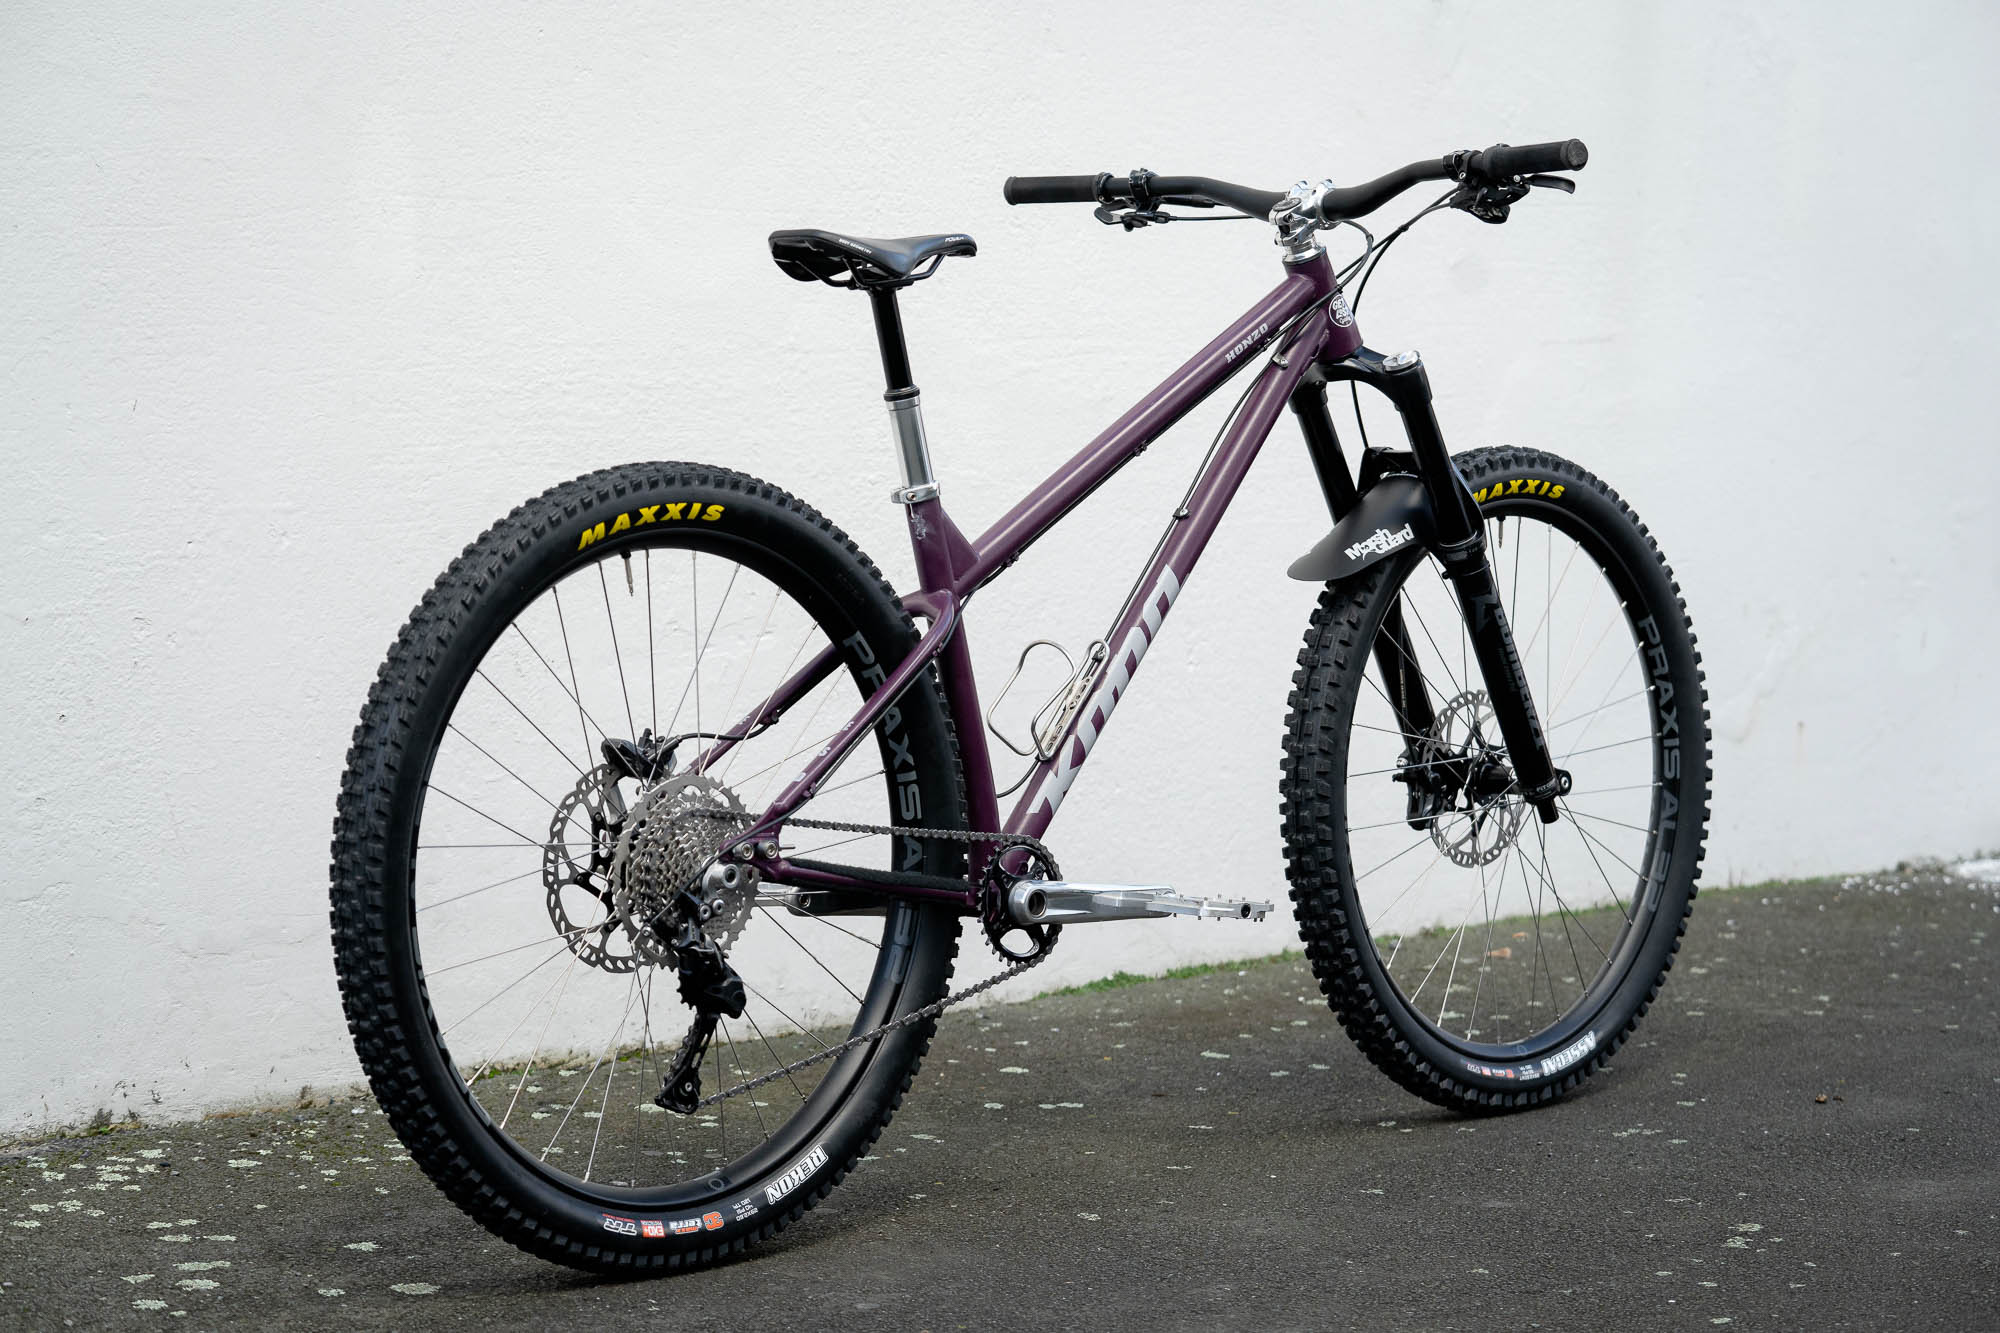
Over the years I’ve had a few Honzo’s. A few of them were going to be my forever bike. This started with my purple one. My first of the new style Honzo St frames. I loved that colour. I also loved that bike but when we got wind of the 30th Birthday editions coming out I placed a pre-order. Well, I said I would take one but I didn’t really think it through. I was in New Caledonia trail building when my boss messaged me saying “Hey, I’ve sold your Honzo frame…”
My response was “You’ve what? How? What? My Honzo?” “Yeah, you have a 30th coming remember, so you don’t need your frame”….. “Ahhh yeah, okay… I guess”. So that was the end of the purple forever Honzo St frame.
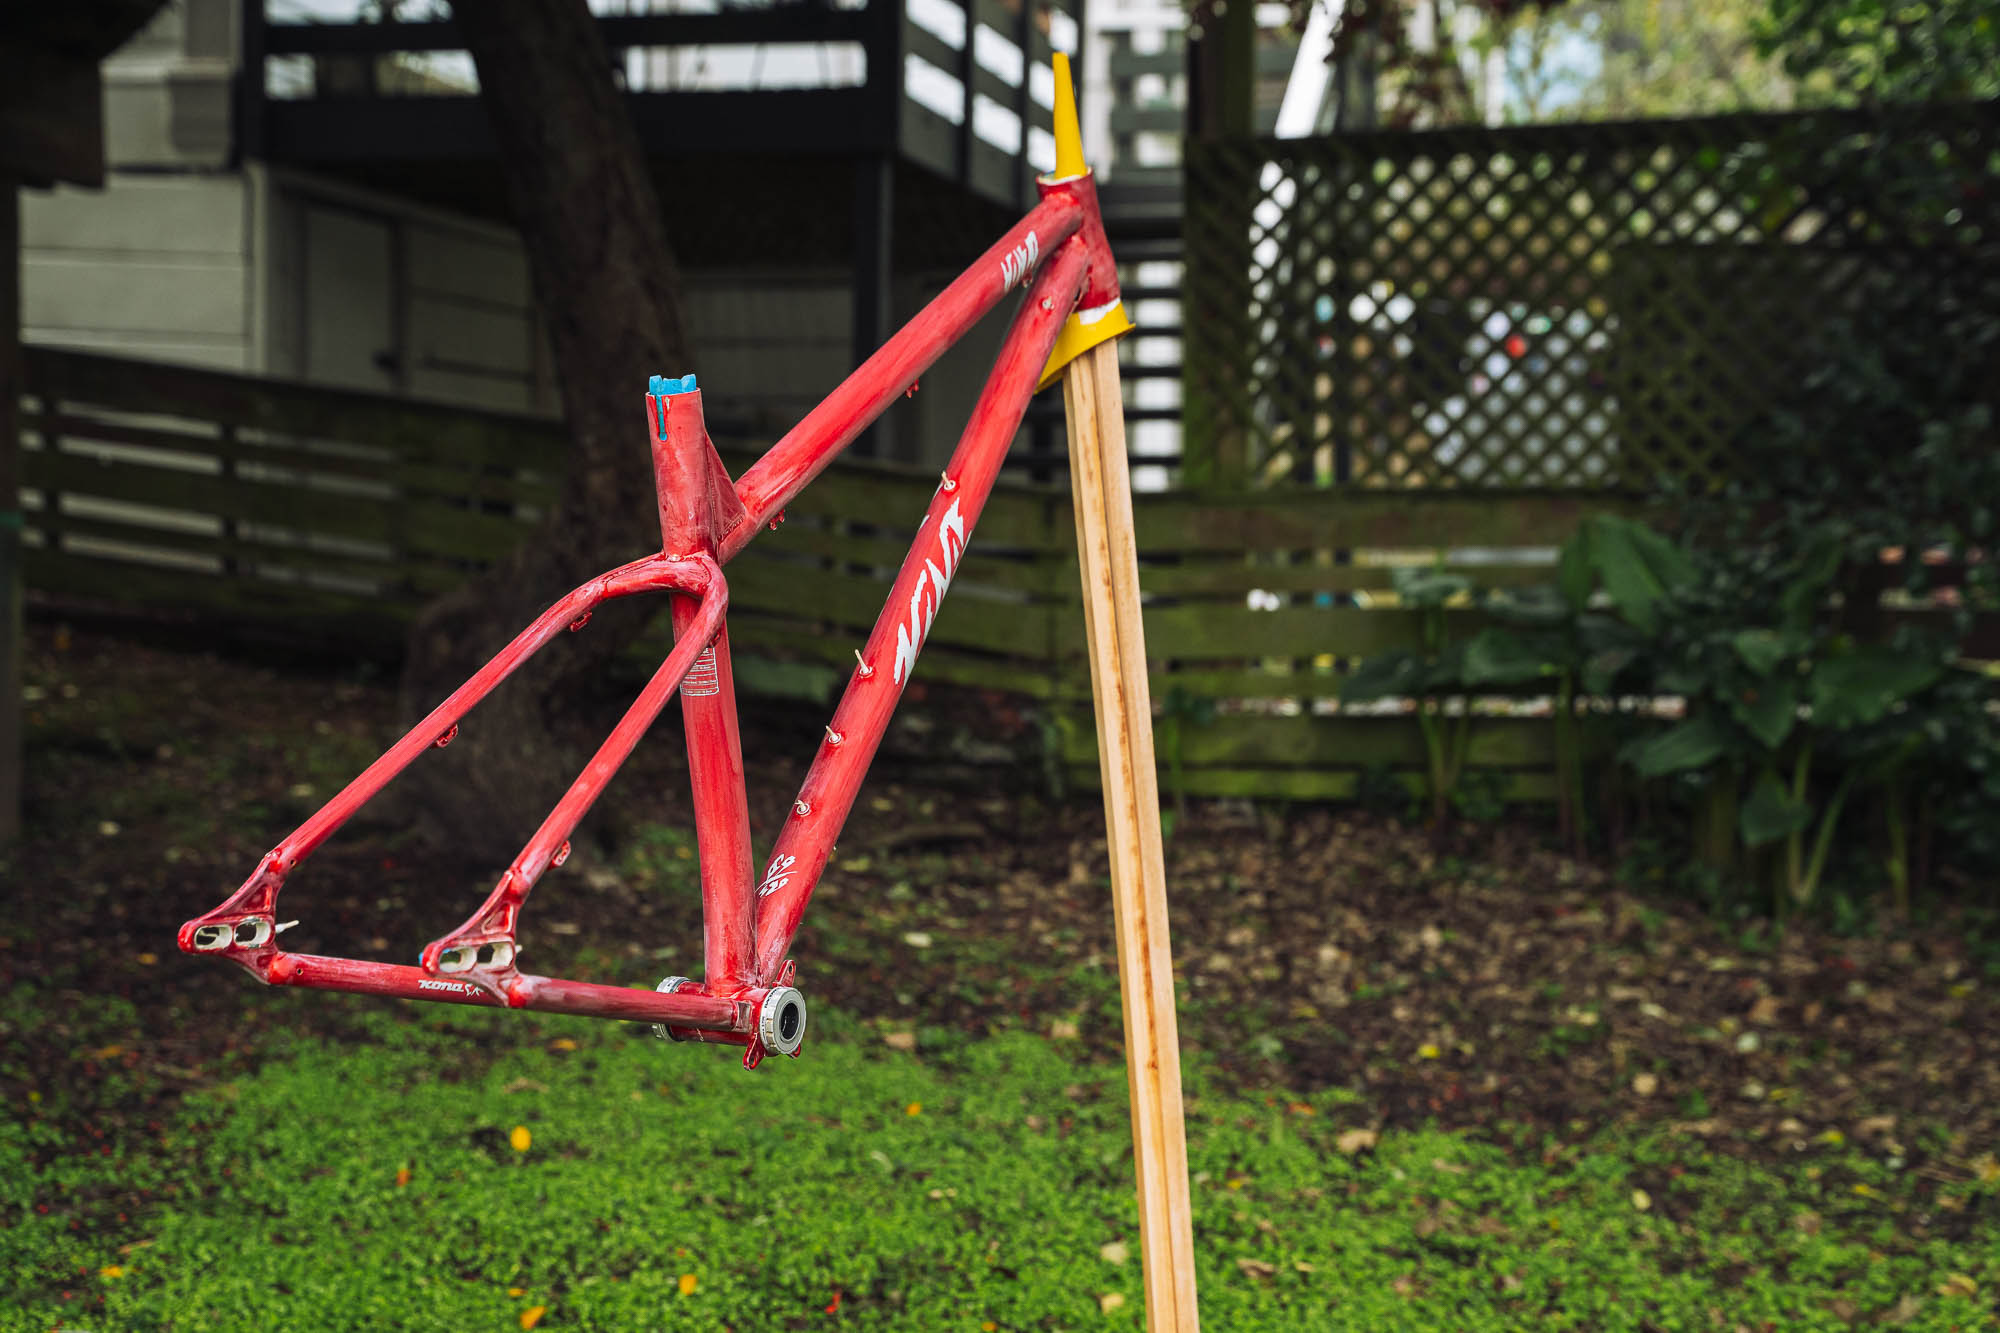
A couple of months later the 30th bike showed up. Bike number 118, I stripped it down to a frame and put my own flavour on it. Changing the decals to red to match the Bomber Z1 on the front. This was going to be my forever bike and boy did we have some adventures. Its first month was big. It was the middle of summer in NZ. I was out of shape and wanted to get fit. So I decided that I was going to pedal up Skyline Bike Park access road every day in January. The original plan was just to do a lap a day. As the weeks went on and I got fitter, the goal turned into climbing 20,000 meters vertically on just that road. In the end, I did 57 laps of Skyline Road along with a bunch of other rides during the month. I think in the end I had done about 27,000 (88,500 feet) vertical climbing on my Honzo in that month. What a way to bed in the bike. I went back home that year and my Honzo came with me. We went all across the UK, riding lots of different spots and adventures. From there we went to Bellingham and then back to Queenstown for another year. It was my only bike. I would ride it everywhere. The gnarliest tracks in Queenstown to Dreamtrack to smashing gravel. It did it all. I loved that bike. I thought it was perfect.
When I was in Bellingham I got to ride the Honzo ESD prototype. Ian (Honzo product manager) and Kevin (Kona sales manager) took me for a lap of Surf and Turf on my first full day in Bellingham.
I was so excited to be riding that prototype. It was a lot longer and slacker than my Honzo. It climbed amazing due to the super steep seat angle. It felt big. I was kind of nervous when we got to the top of the trail. How was this thing going to be? Was it going to ruin my Honzo? I dropped into the trail and just thought “Holy Shittttttttttt……. This thing is soooo fast’. It was, but I was struggling with it, I was all over the show. I kept making mistakes. I just wasn’t jiving with it. Looking back it was most probably because I was super jet-lagged.
I was kind of relieved. My Honzo was still perfect. That was until the day before filming for “It’s a Match”.
In the weeks leading up to filming, I was getting nervous. I didn’t know how the bike was going to go. I had a bit of a jaded rough idea of how it was going to be. Was it going to be too slack? Was it going to be too long? Am I good enough to ride it properly? I really wanted to do this bike justice. I knew how much effort Ian had put into it. I really wanted to show what this bike could do.
All these thoughts quickly disappeared when I finally swung my leg over it. I dropped into the first trail. “It’s good! It’s really flipping good!” and it was. Holy moly this thing rides well. It confirmed my theory that jet lag was why I was struggling with the prototype in Bellingham.
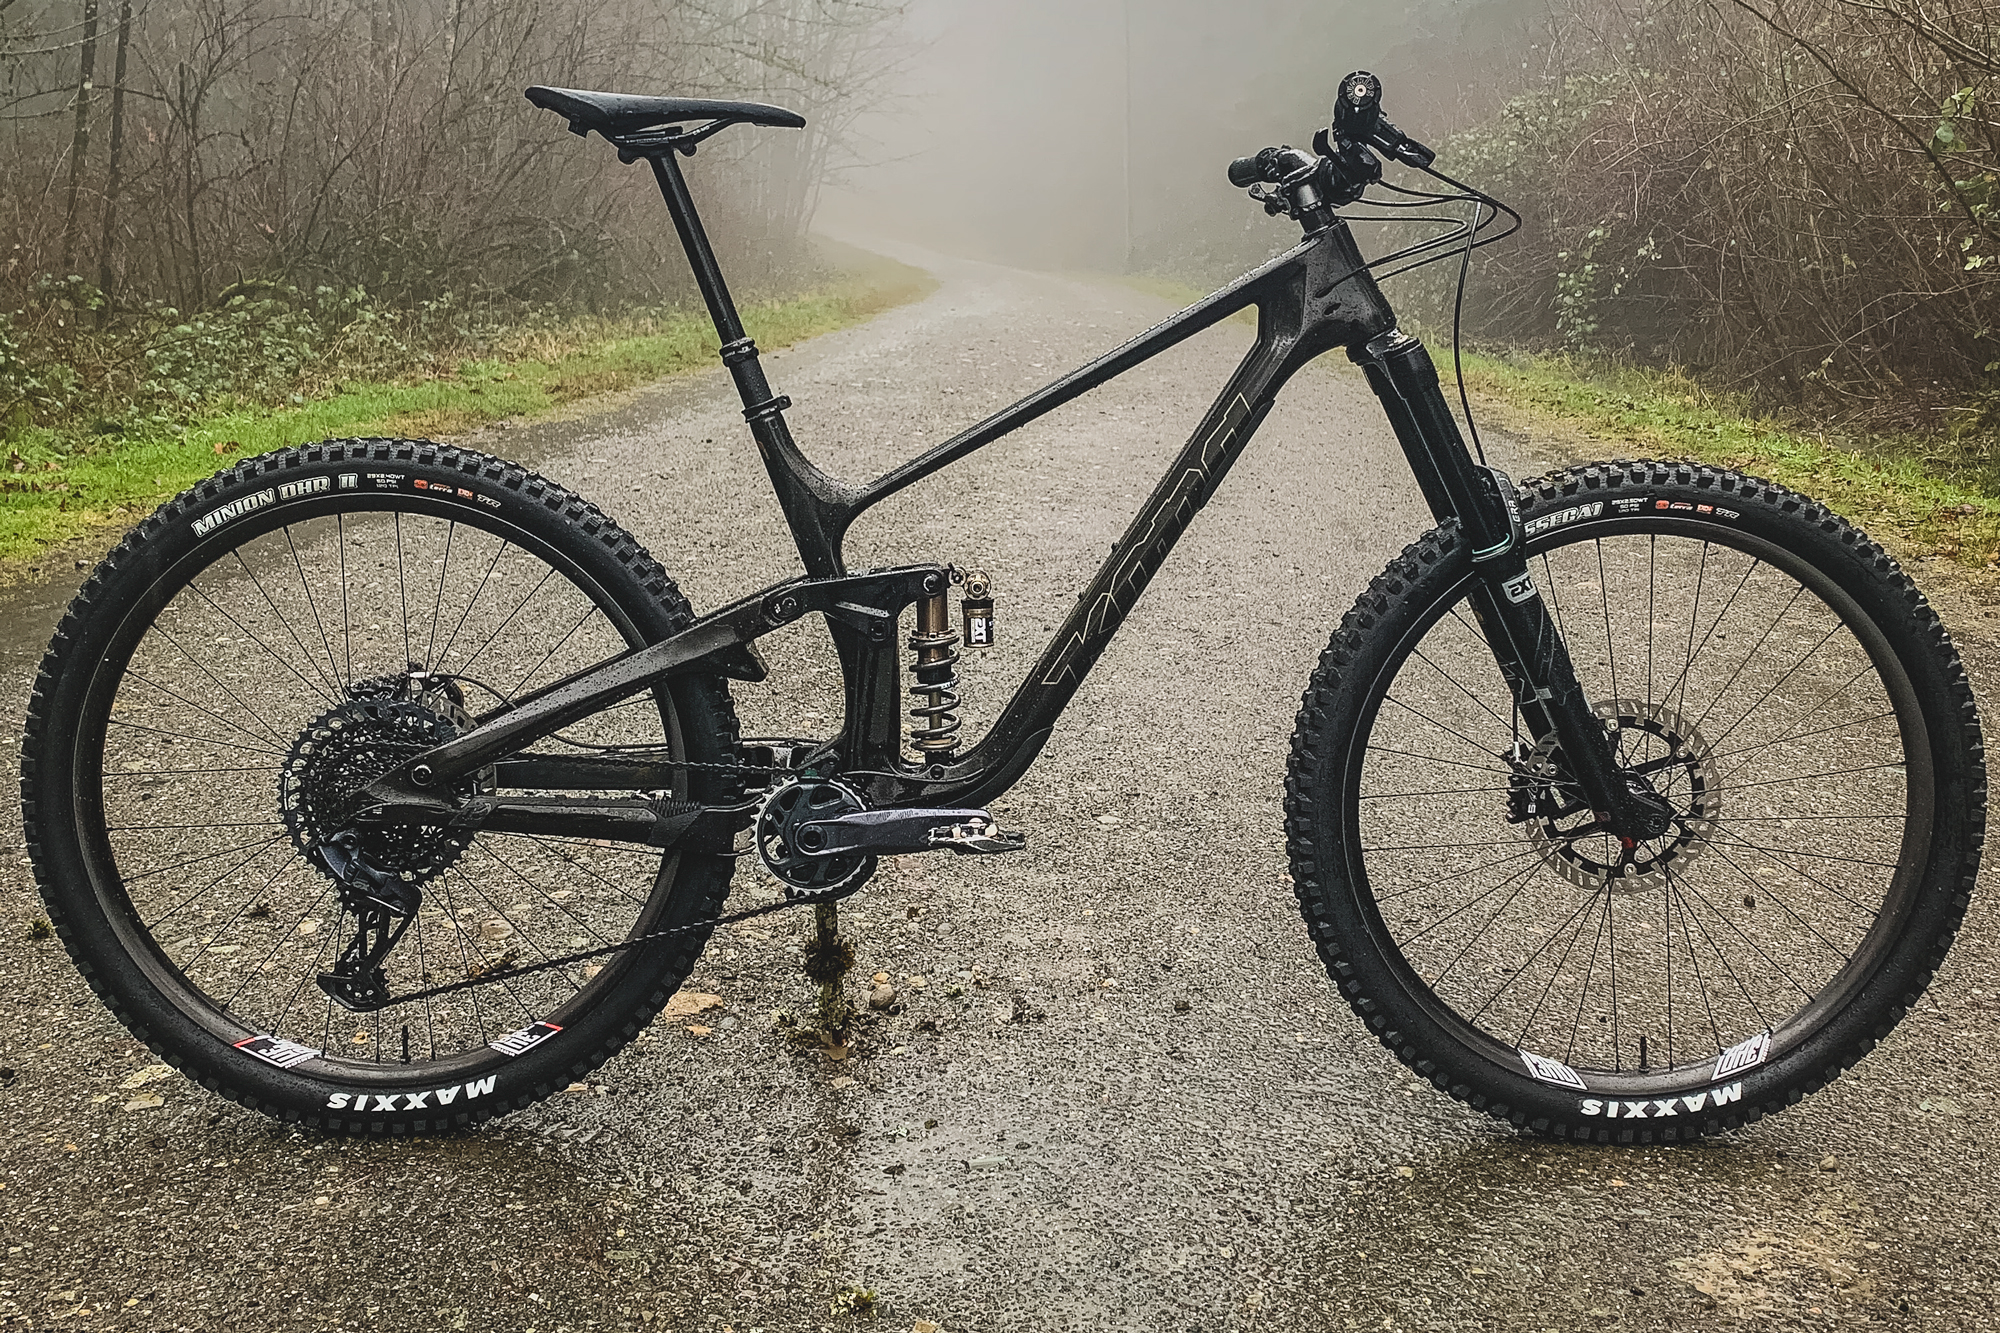
I got to ride the ESD all over NZ before getting it back to Queenstown. Queenstown was going to be the real test. I know every trail. I could take the ESD on my usual loop and see how good it really was, and it did not disappoint. It even climbed better than my Honzo. It was more stable on the way down. It was so good at speed. It was pretty much better everywhere.
“Shit, I’m going to have to get rid of my forever frame again”
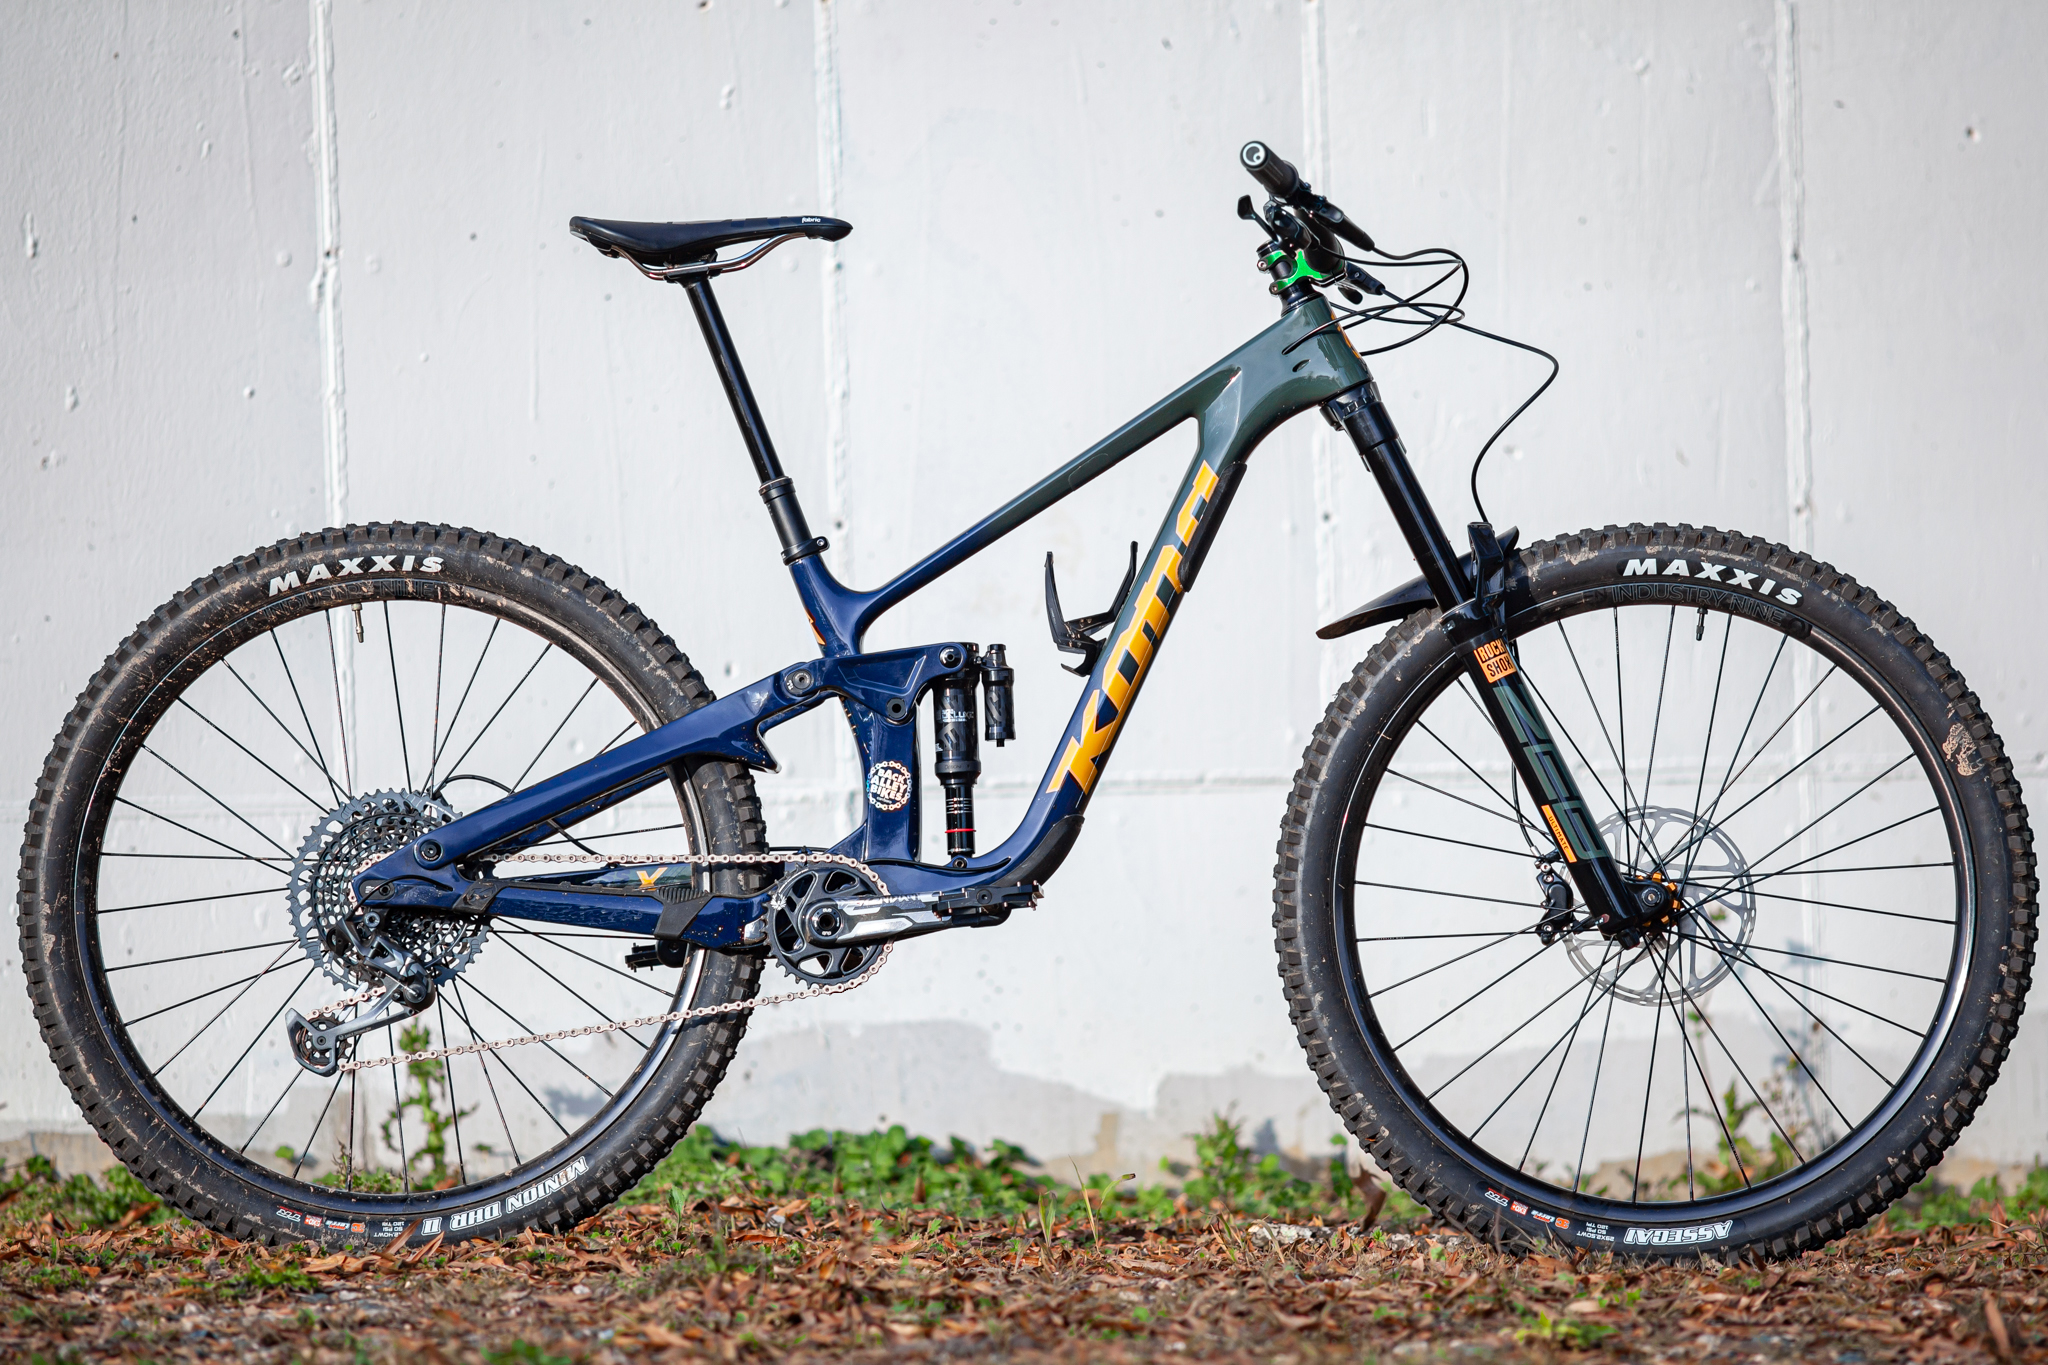
The ESD has become my forever frame now and I’m 100% content that it will be my forever frame, forever. I don’t think I need anything more extreme than this. It’s perfect for me
This frame also means more to me as well as it’s the frame we filmed the launch video on. It’s the production version of the frame I got to try in Bellingham. Some of the feedback I gave Ian on the prototype made it onto the production version (I don’t know if Ian did listened to me or he was already thinking about it) but I’m glad to see them make it onto the final frame.


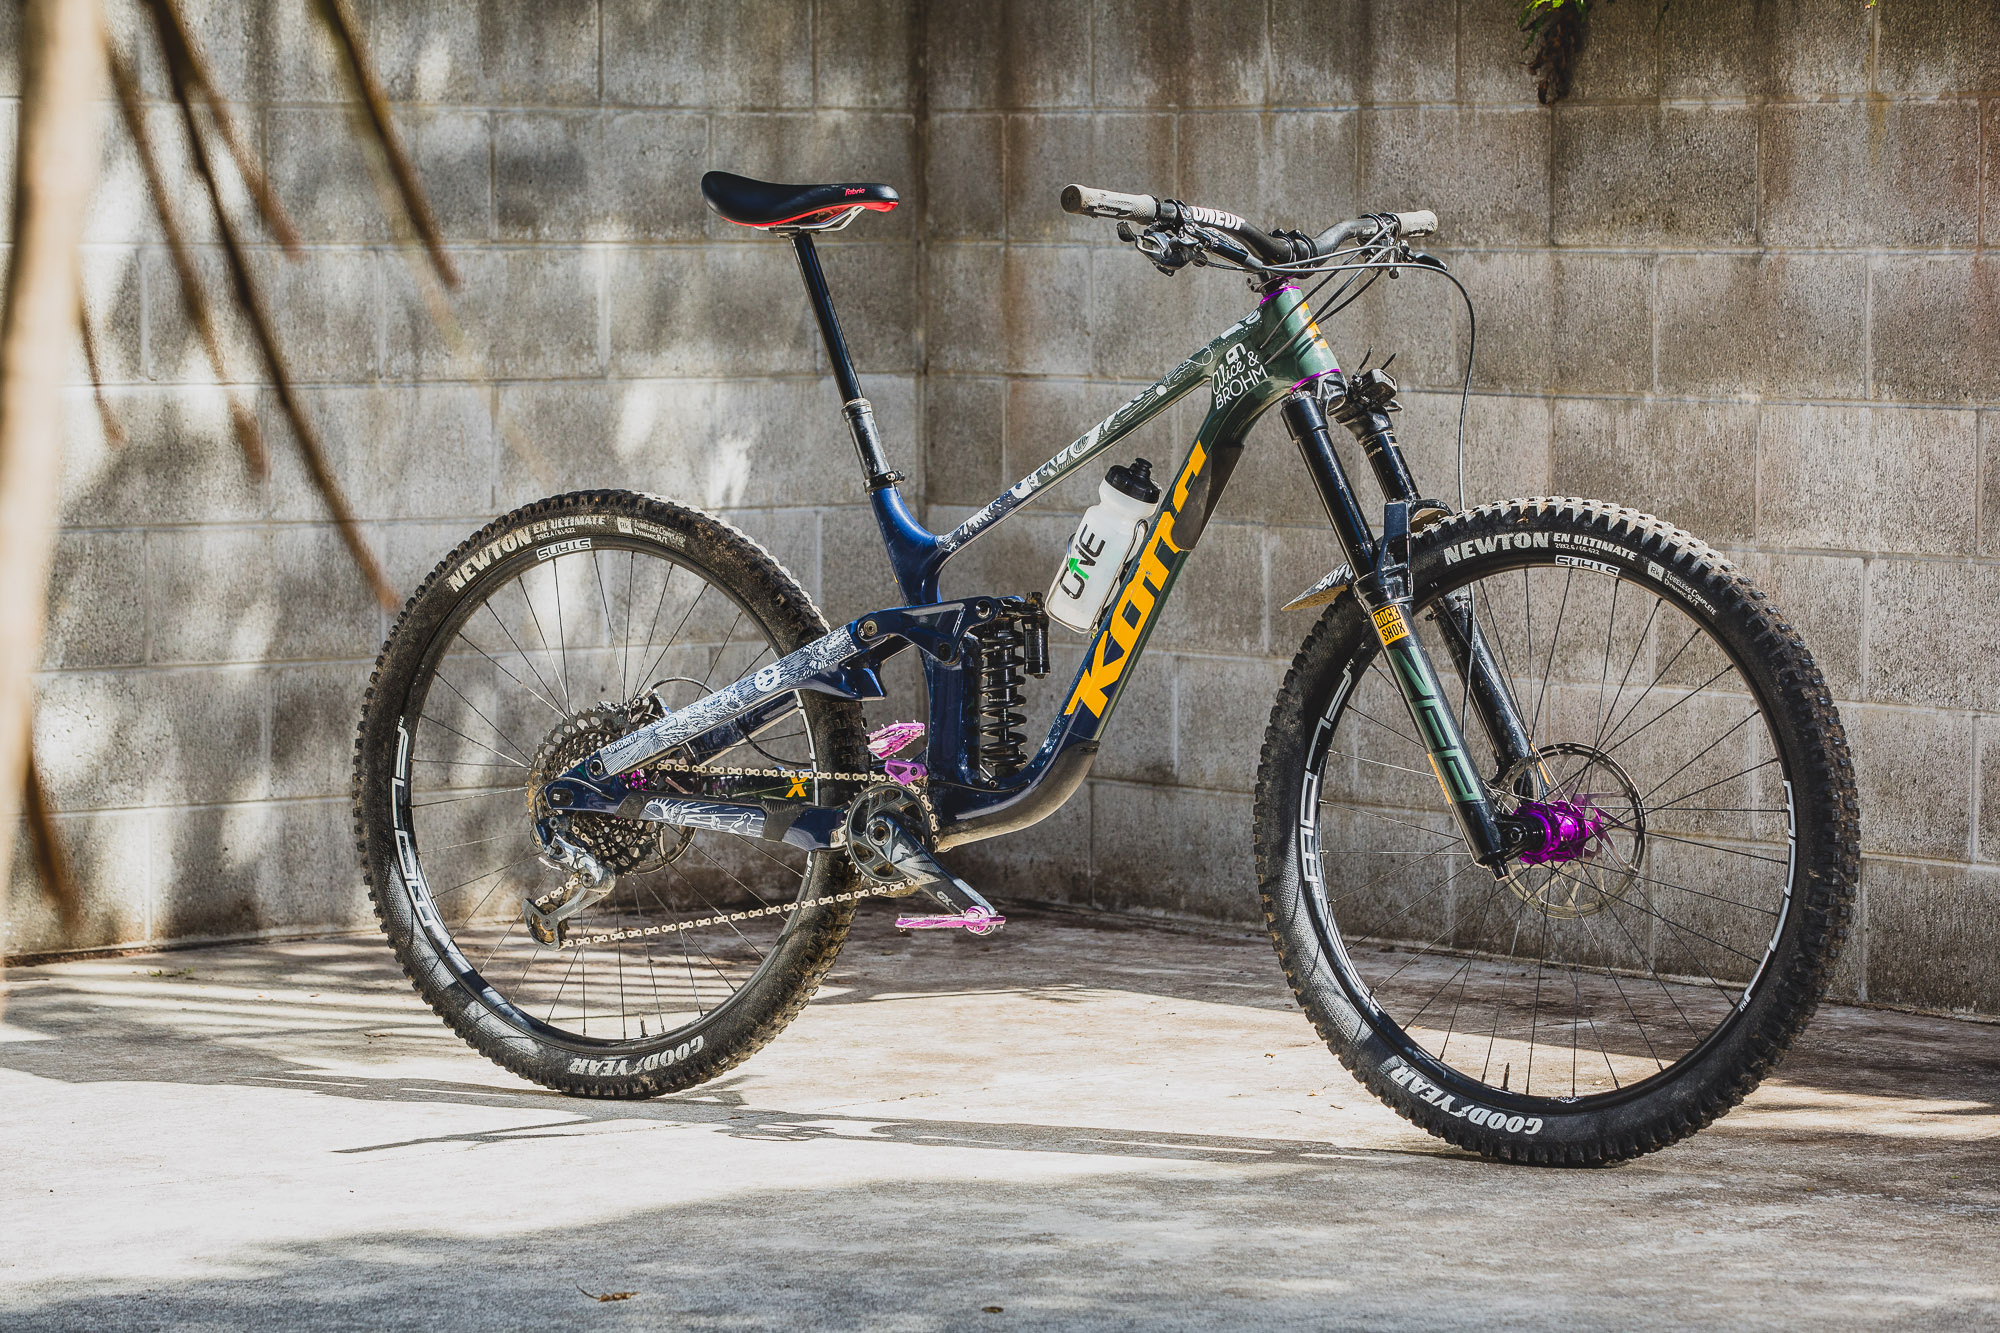
Over the summer I’ve been riding the Process X (aka Bob). I had to take a few bits of my ESD to build the X the way I wanted it due to parts shortages (Shimano fanboy over here). It was a nice change riding the X, it’s a lot of fun. Being able to ride like an absolute idiot and get away with it, but every now and again I would get the itch to ride my Honzo again.
The Honzo sat as a frame in the room for a few months while I gradually managed to get some parts together to rebuild it. While it was sitting in my room I started to think about whether I should strip the paint off it. I’ve always loved the look of raw steel bikes. I thought about rawing it and maybe rusting in a Kona logo before putting a clear coat over the top to add a bit of protection. The more I thought about it, the more I got worried about the amount of rust that might happen and that it’s my forever frame.

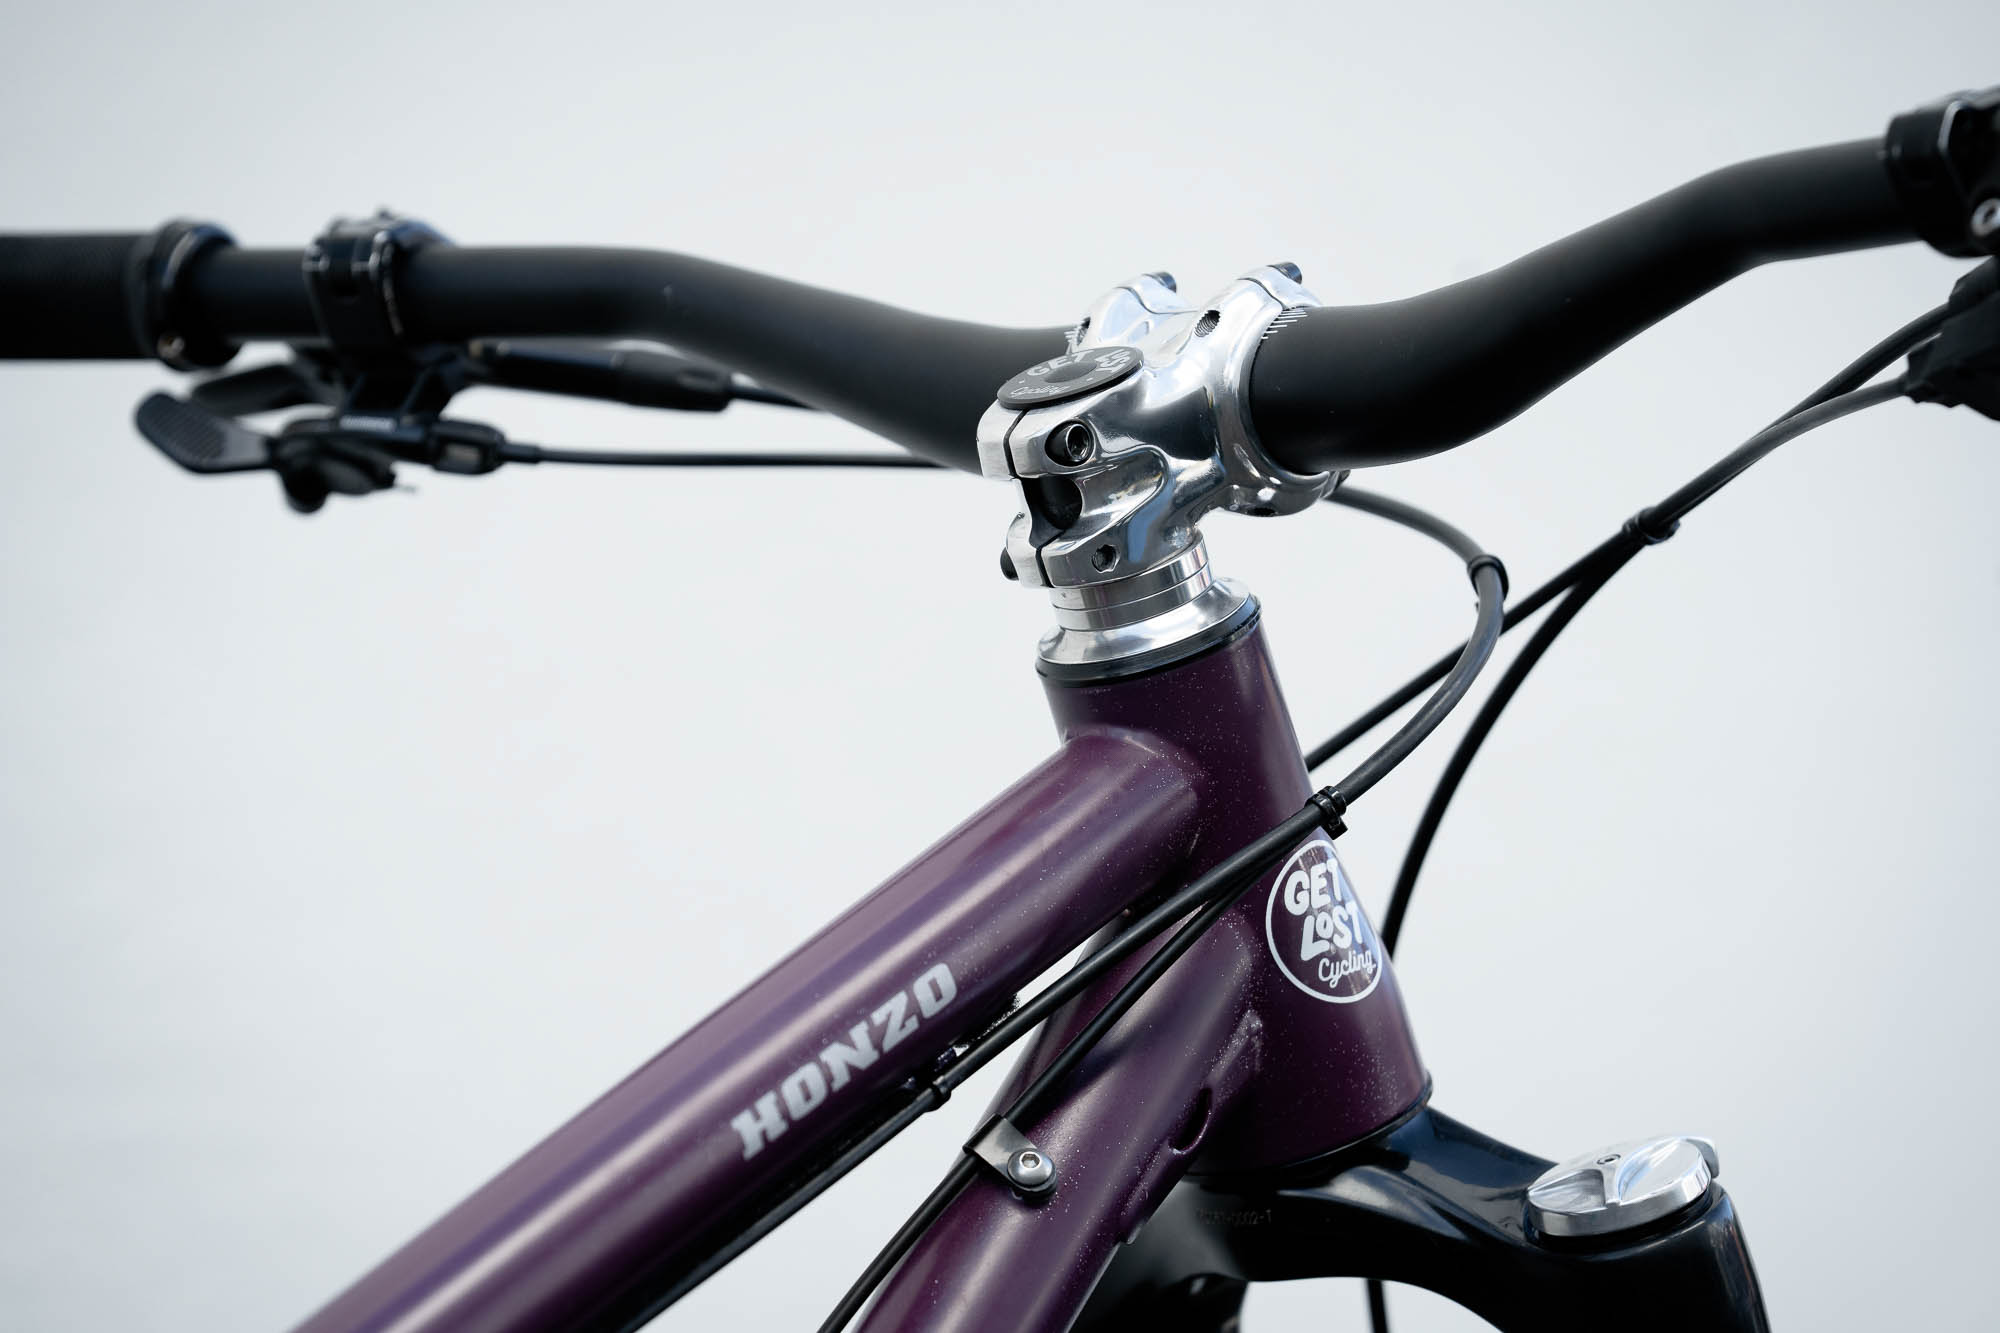
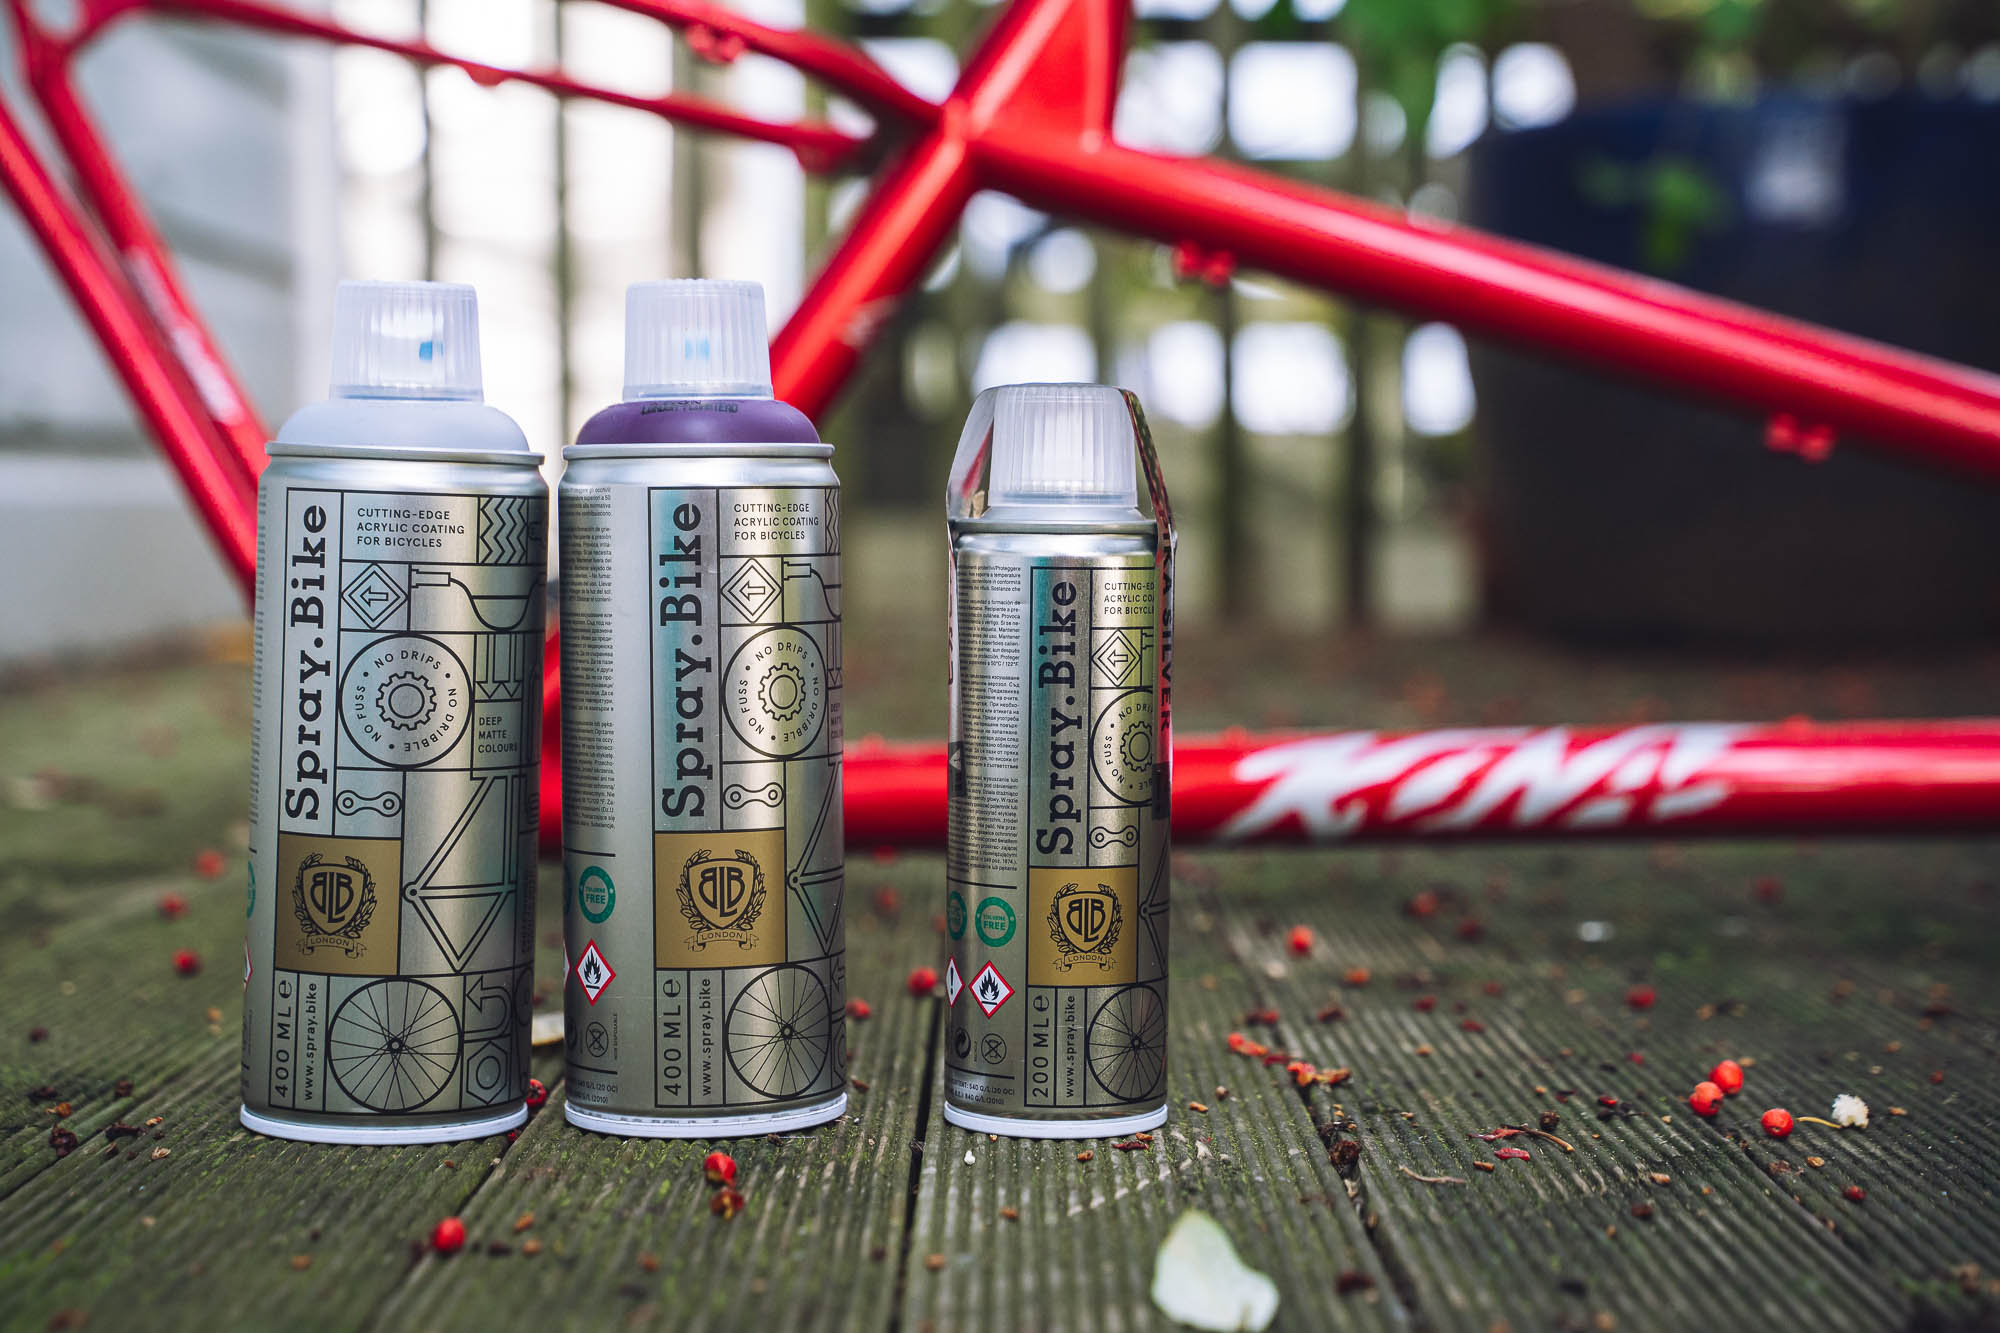
I think because I thought so much about rawing my frame, the idea of making it my own started growing. One night I came across a paint called Spray Bike. It’s a spray paint designed for bike frames. I watched a few videos about it and did a bit of research. It looked pretty good. I thought fuck it, what’s the worst that’s going to happen? If it does go to shit I’ll just raw my frame.
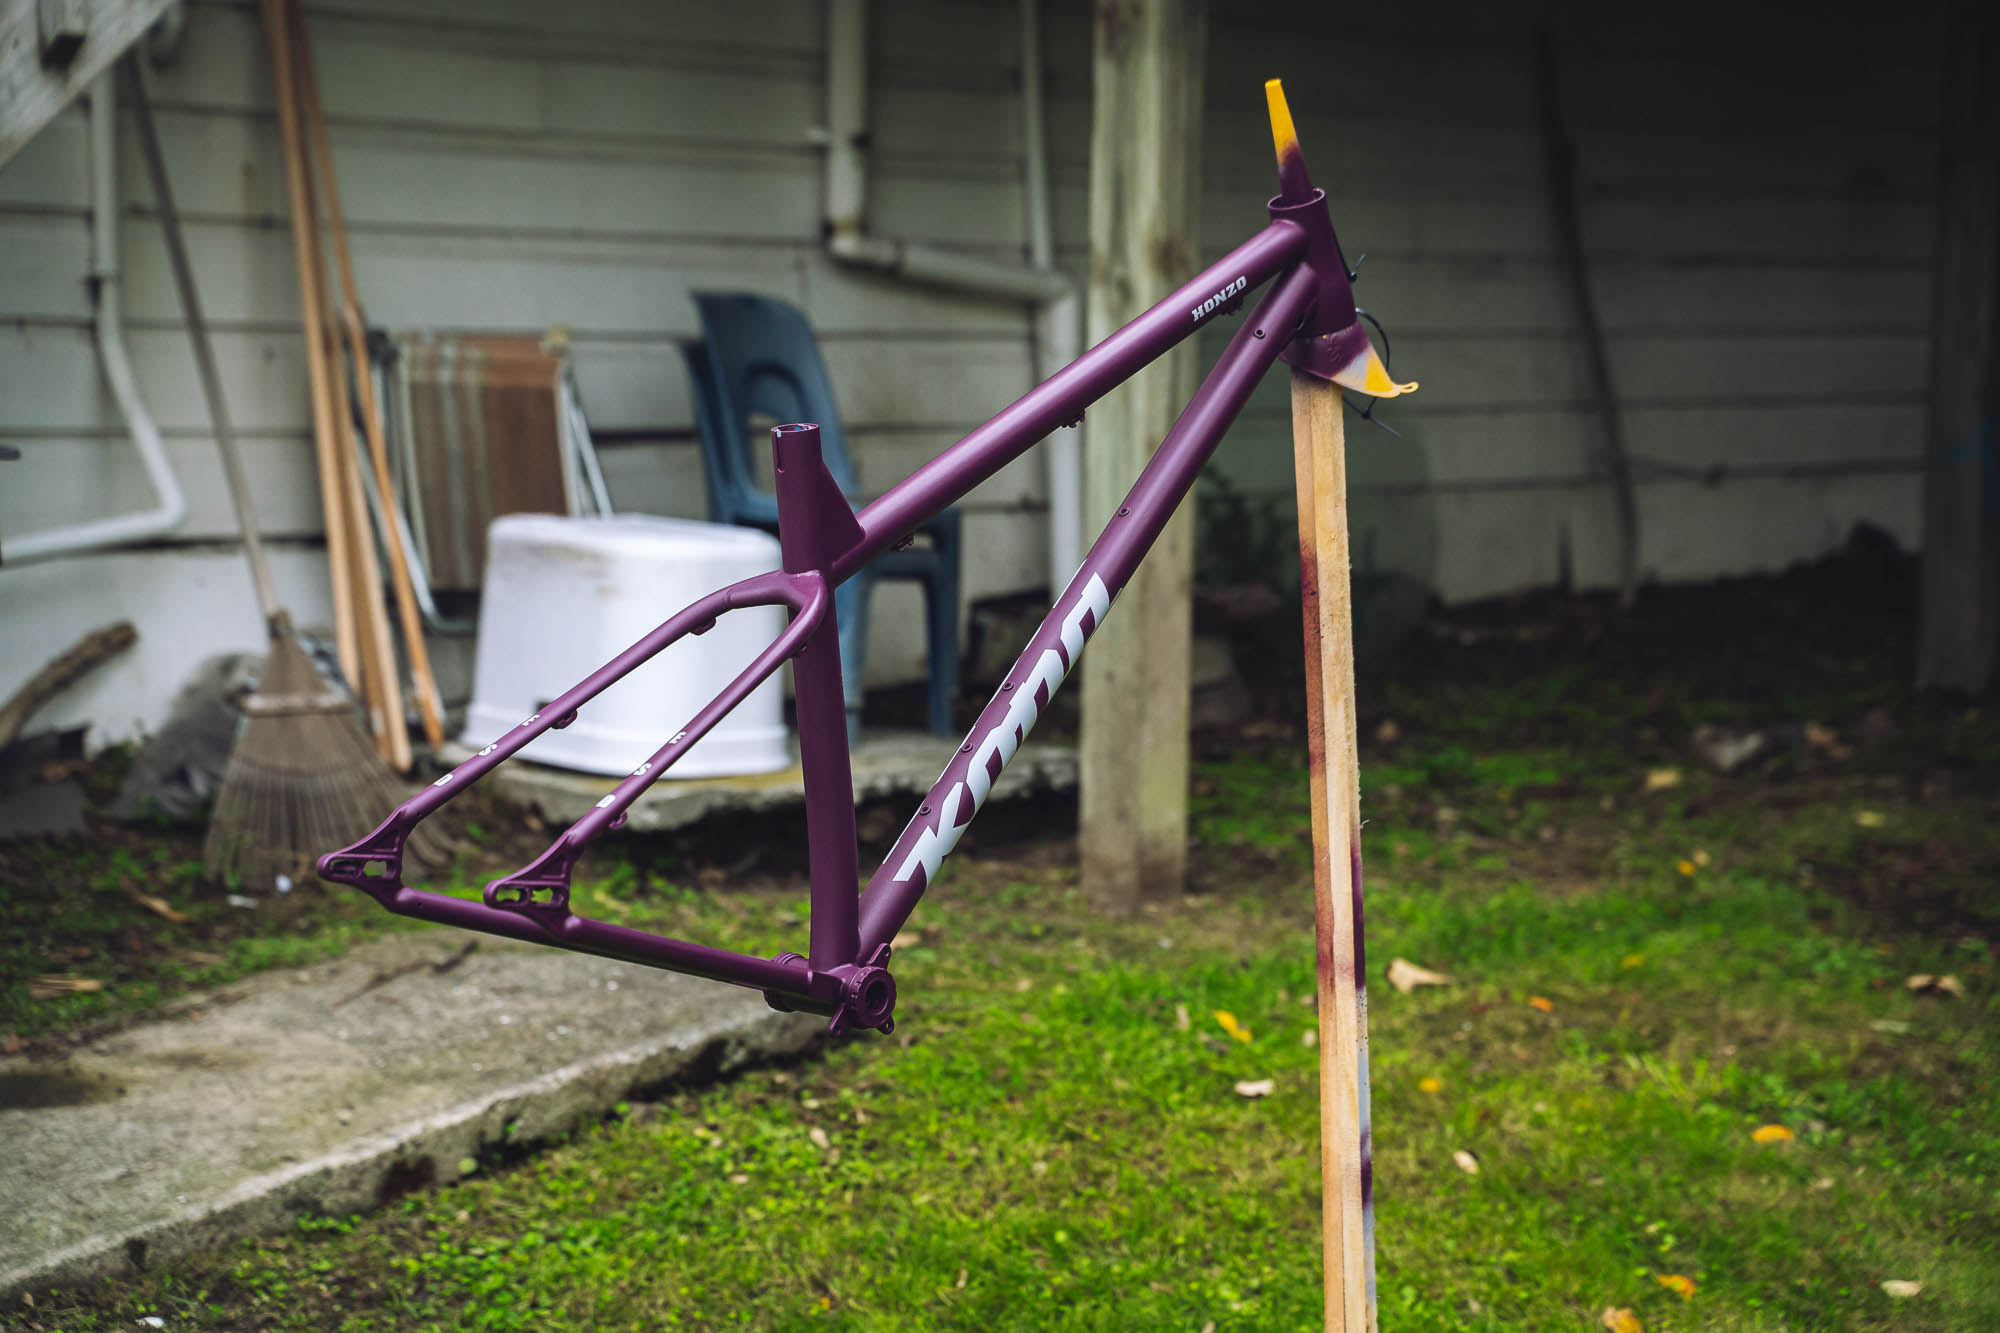
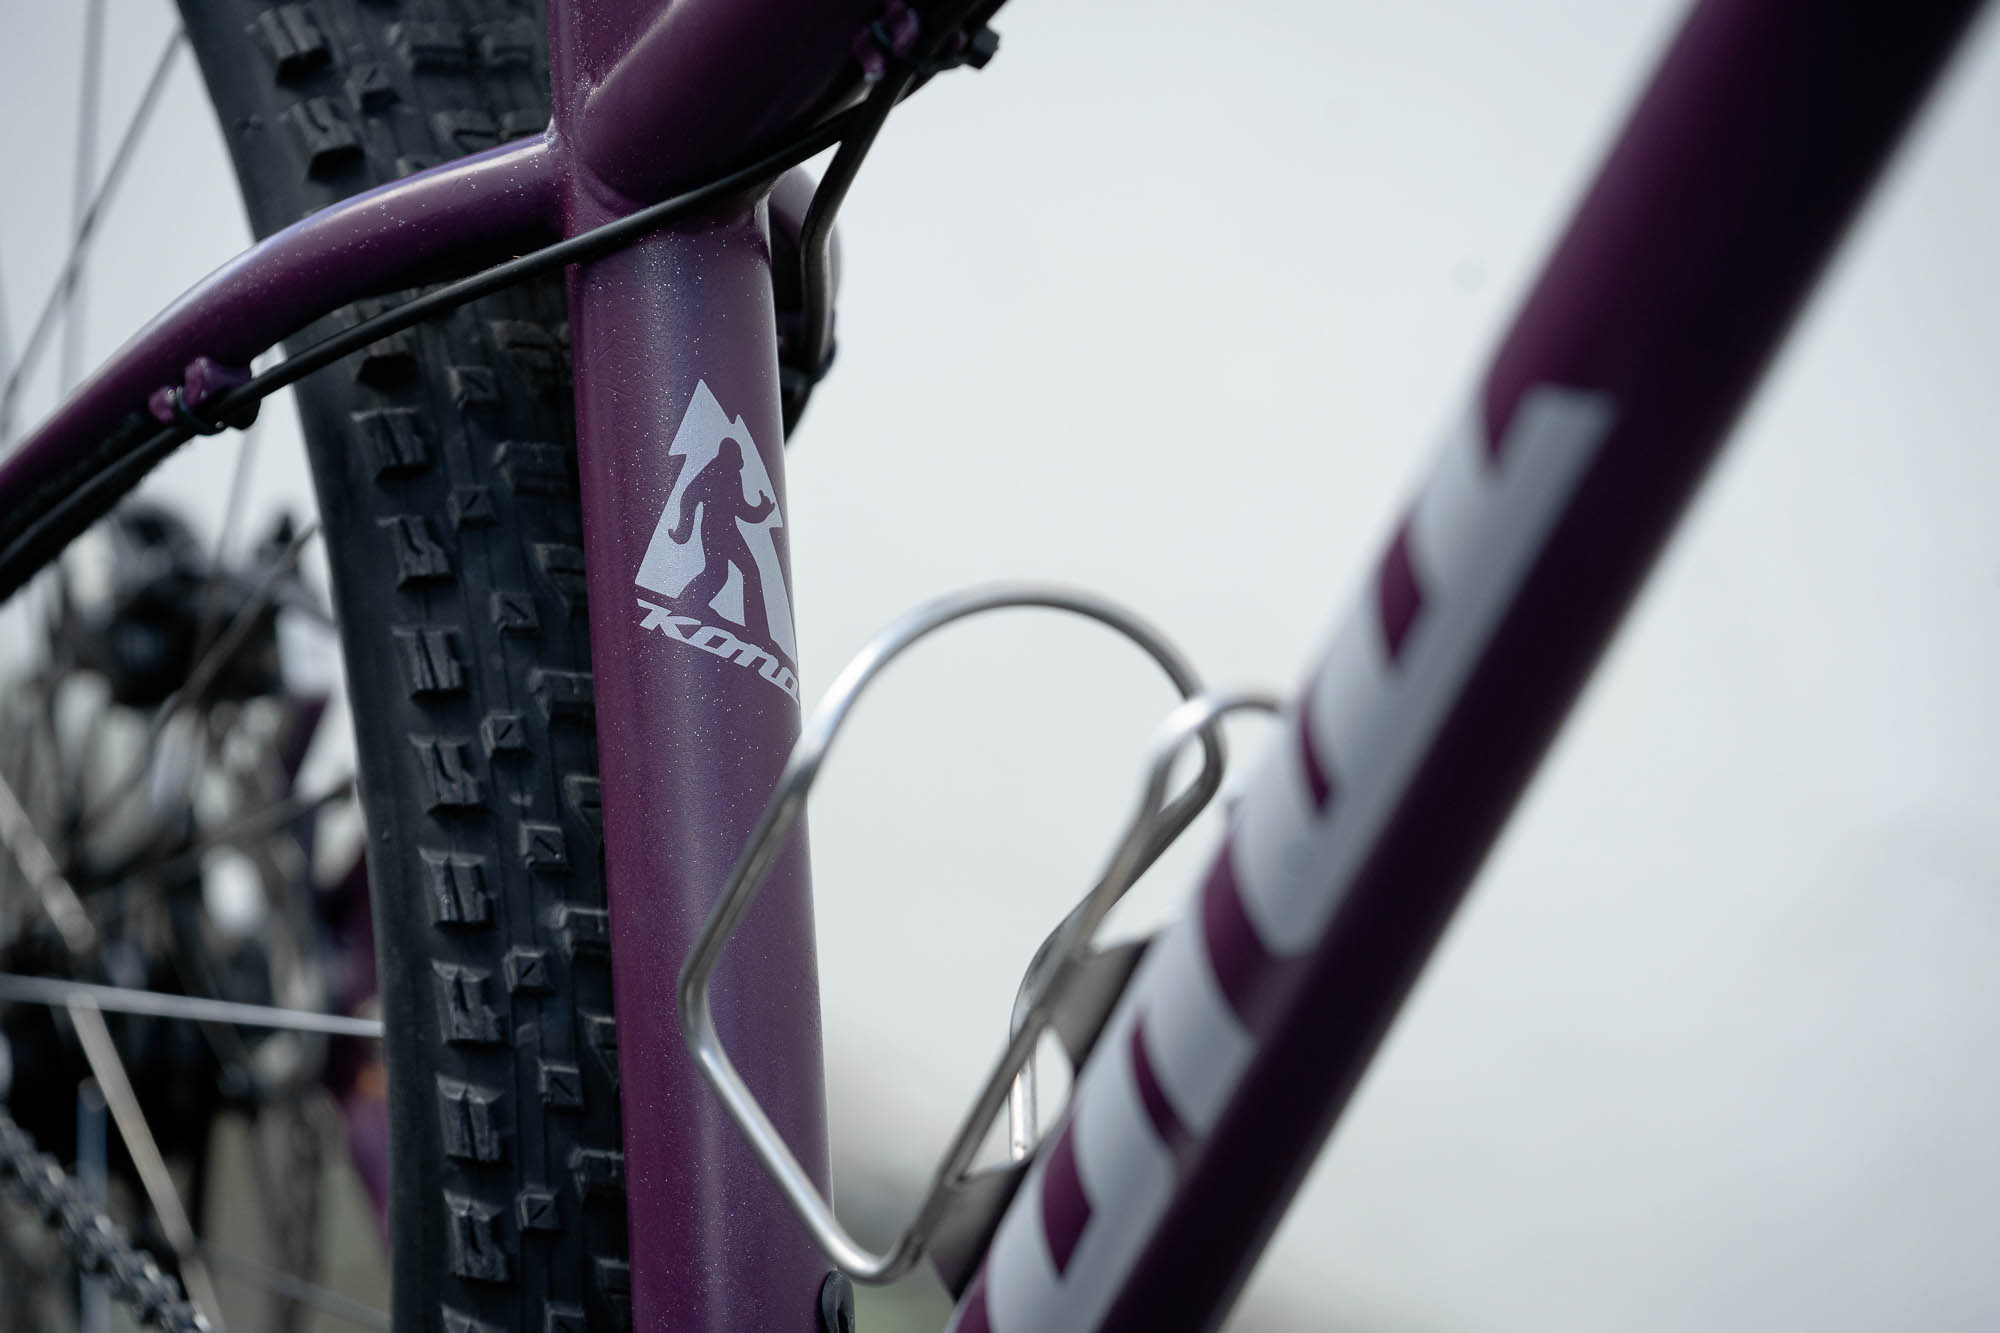
Next day I ordered a few cans of it. Pumstead, Silvertown and a topcoat with some silver flakes through it. I have a thing for purple… and that plum colour is fantastic. The cans showed up just before a long weekend, perfect timing for painting a frame.
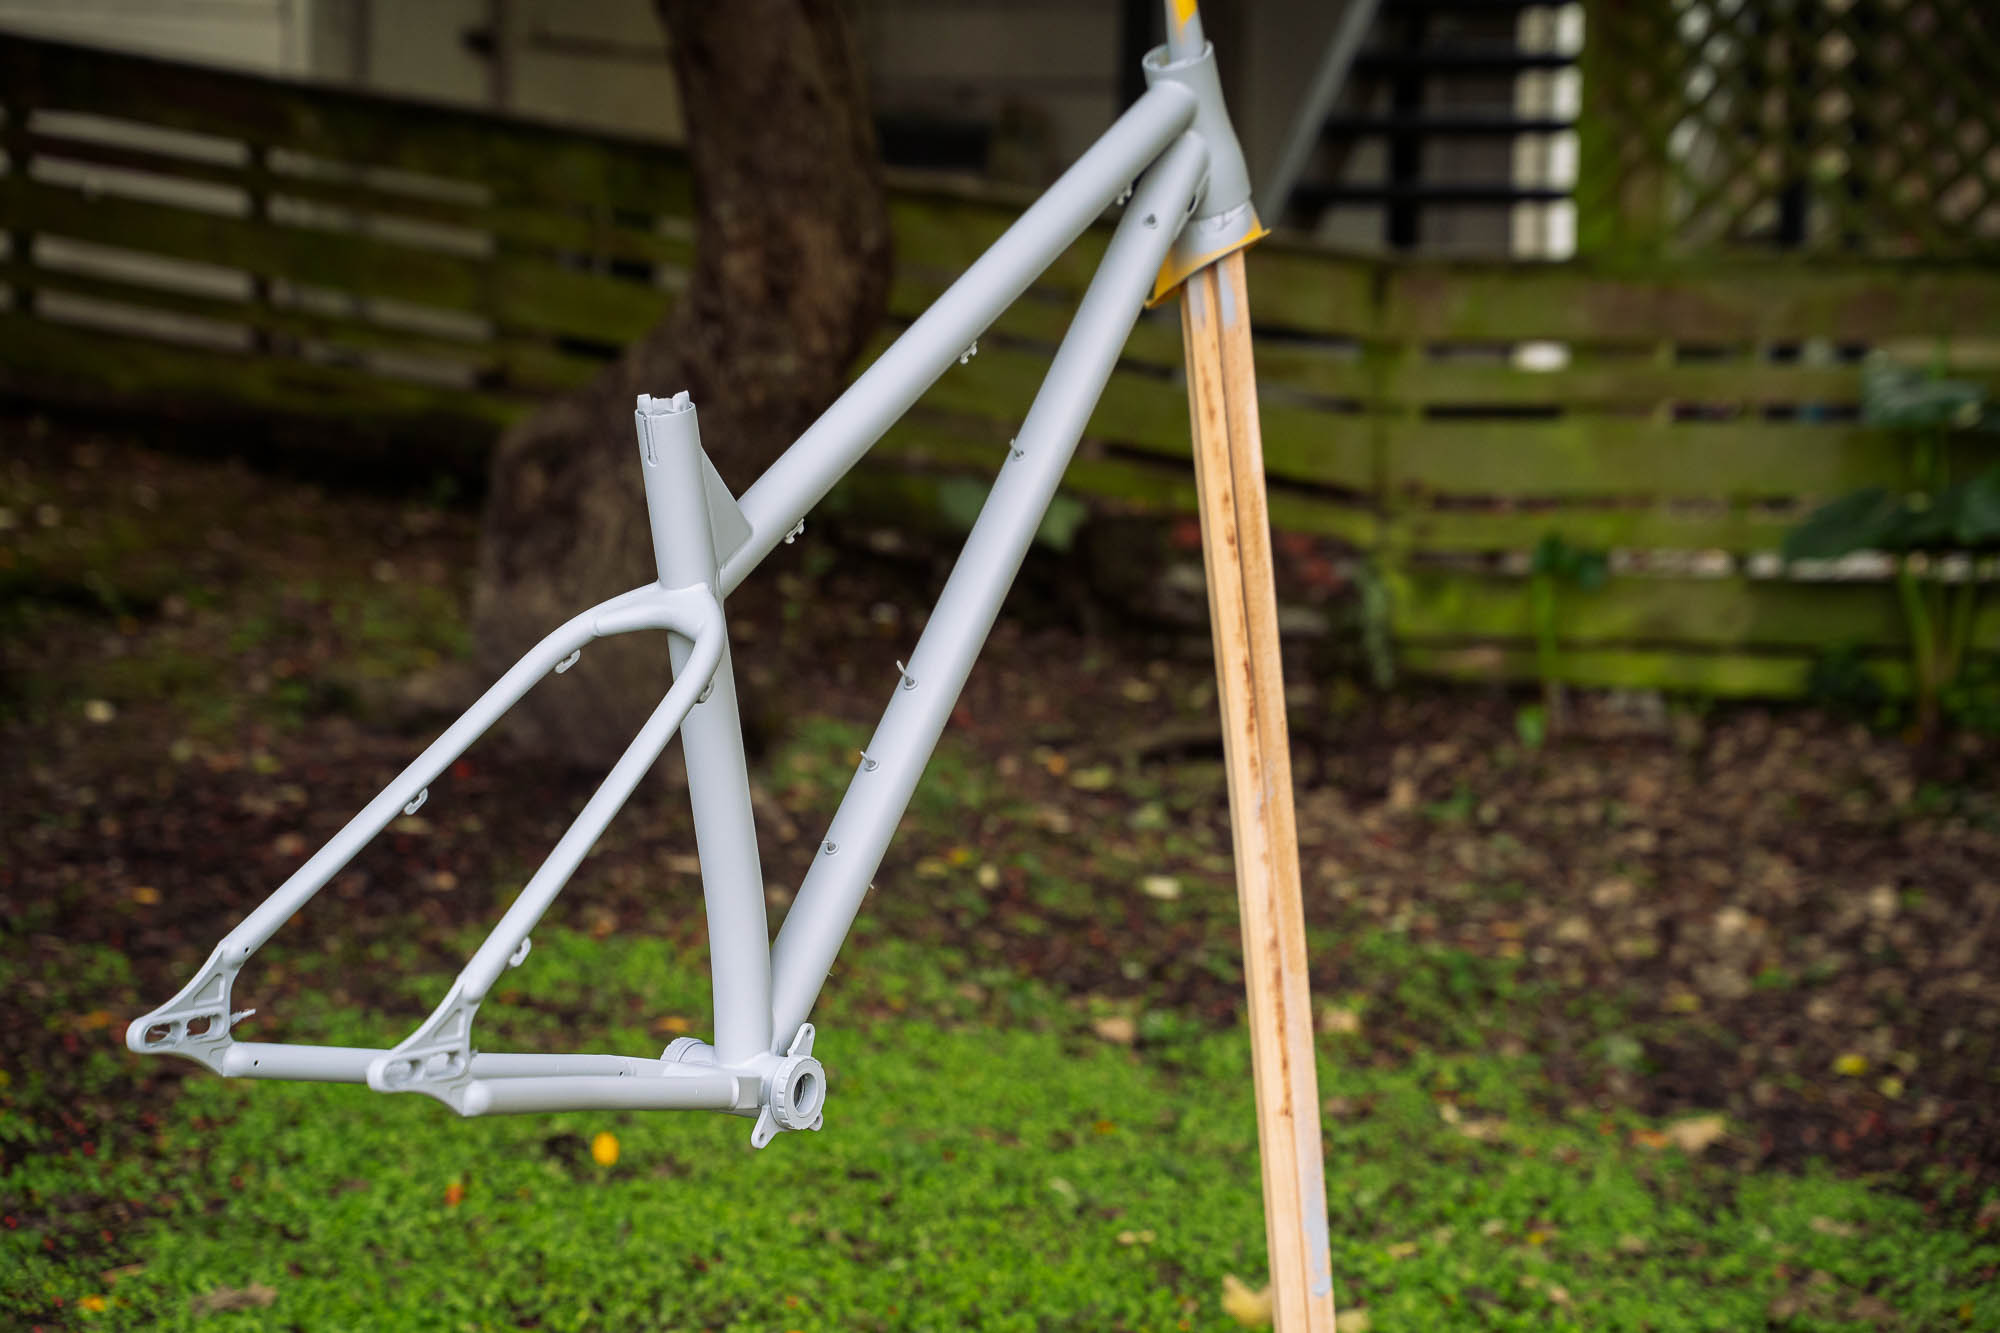
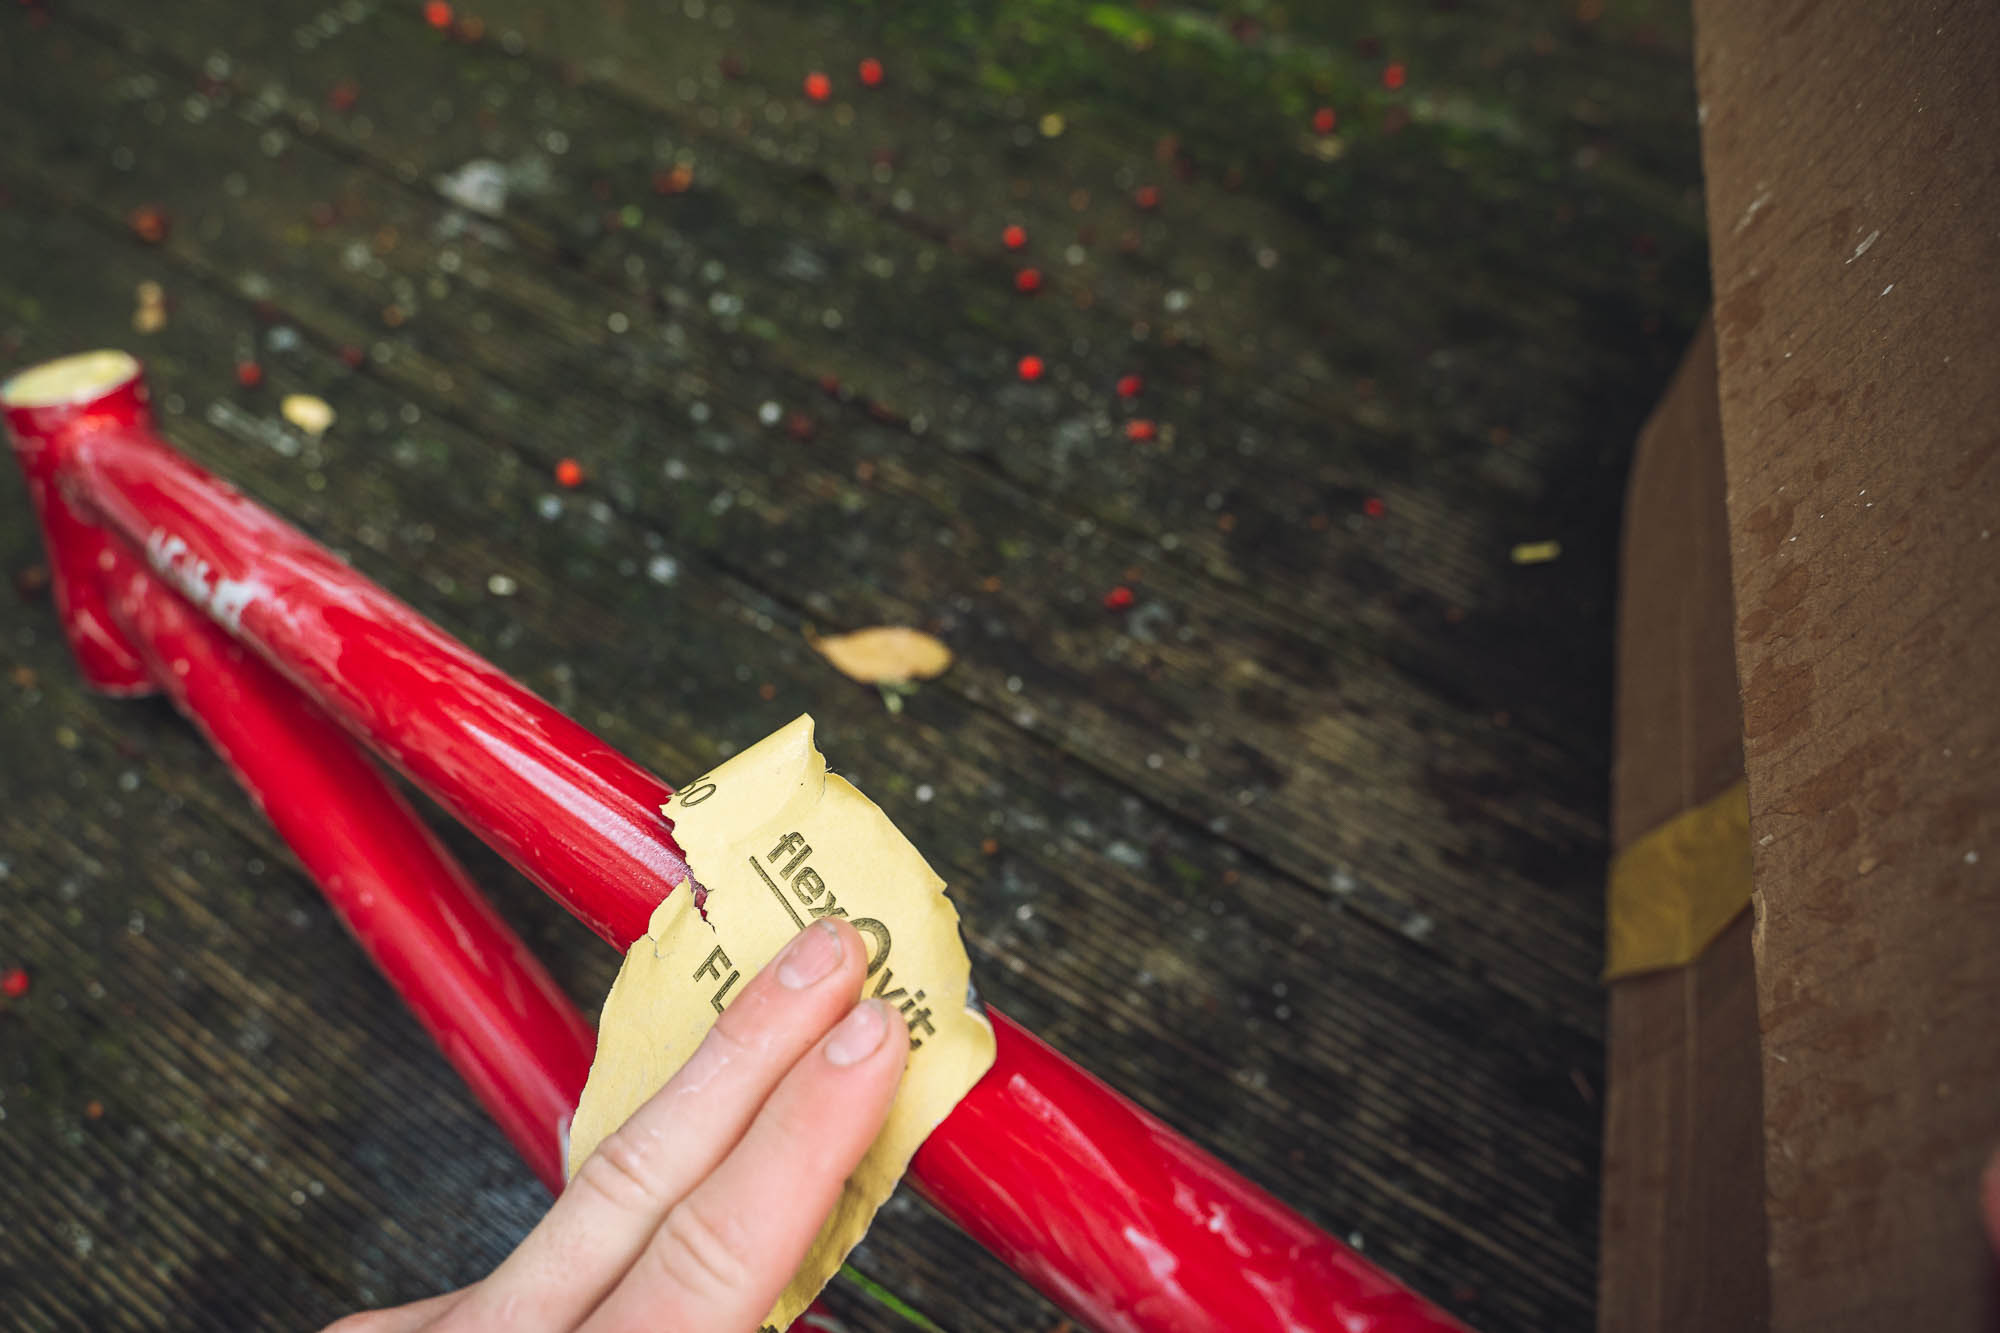
With the spray bike frame you can slightly sand down the original paint and spray over that. I went over the frame with 300 grit wet and dry, I then masked off the dropouts, headtube and seat tube. I filled in the cable guide mounts and bottle cage threads with q-tips and left an old BB in the frame to prevent paint from getting to these areas,
I mounted the frame to my makeshift paint stand. Put my ventilator on, shook the can for three minutes. Breathed in and committed to the first spray. I was super nervous about how it was going to go but after the first couple sprays I got in the grove.
I started with Silvertown. I covered the whole frame in it. It cures dry in 10 minutes so you can handle it. After it’s dried it’s recommended that you lightly sand the paint down with baking paper to help compress the paint partials together. I spent about an hour on this. Fixing any slight mistakes I could find,
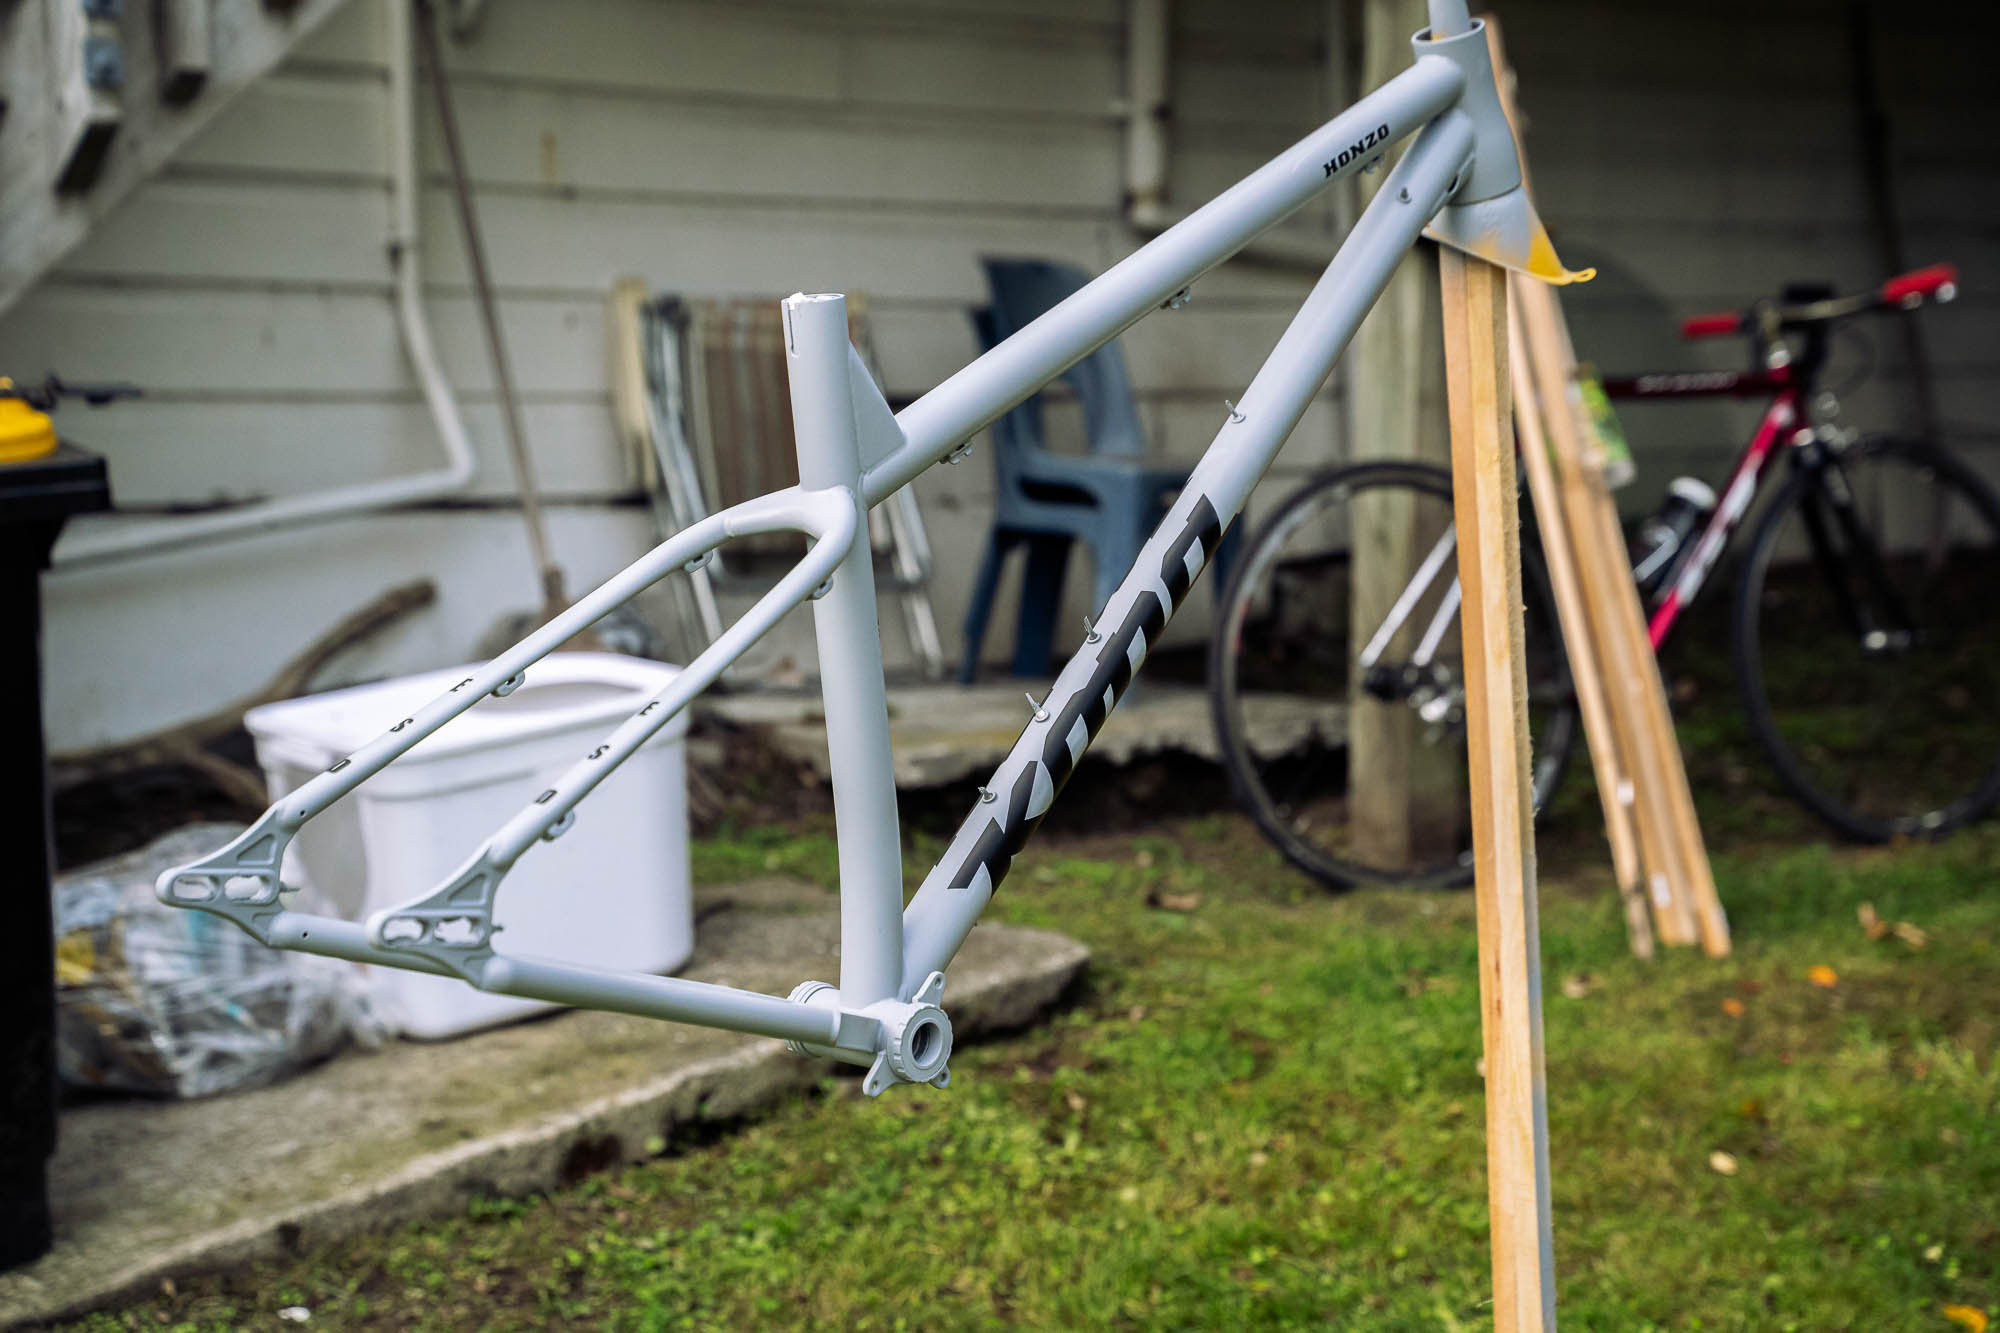
Next, I stuck the decals on the frame and then sprayed the frame over with the purple. The colour looked even better in the light. I let this sit overnight before I pulled the decals off. Holy moly it looked amazing. I was flipping stoked on how this was progressing. Next up was the topcoat. A clear coat with some silver flakes through it. I thought it would just have a little amount of flakes and that this would finish the frame off perfectly.
I applied the topcoat to the frame, it wasn’t good. There was far more glitter in there than I expected. It was like someone had thrown a glitter bomb at my frame. “Oh god, I’ve ruined it.” I was so gutted.
I let it dry, hoping it wasn’t going to be as bad as when I first put it on. It was. FUCK!!! I pondered about what to do. What was I going to do! It’s not good. Haha. At that point, I thought well can’t get any worse if I tried some stuff.
Carefully I wet sanded off the topcoat with some 1200 grit wet and dry paper. The topcoat was coming off slowly and I was able to keep a bit of the flake in there. Sanding with 1200 actually let me fix a few paint bump issues at the same time. After I finished sanding with 1200 grit, I moved on to the cutting compound and then finished off with some car polish.
Somehow I managed to save the frame with the process and it looked better than before, I was over the moon with it.
Was it the perfect paint job? Of course, it wasn’t. It’s a home job and I did it myself having no prior experience of painting but I was stoked with the result. It was a great learning experience and something I’ll probably do again down the line. If I get bored of the purple then maybe I’ll paint it some other color or get a bit wilder with the design.

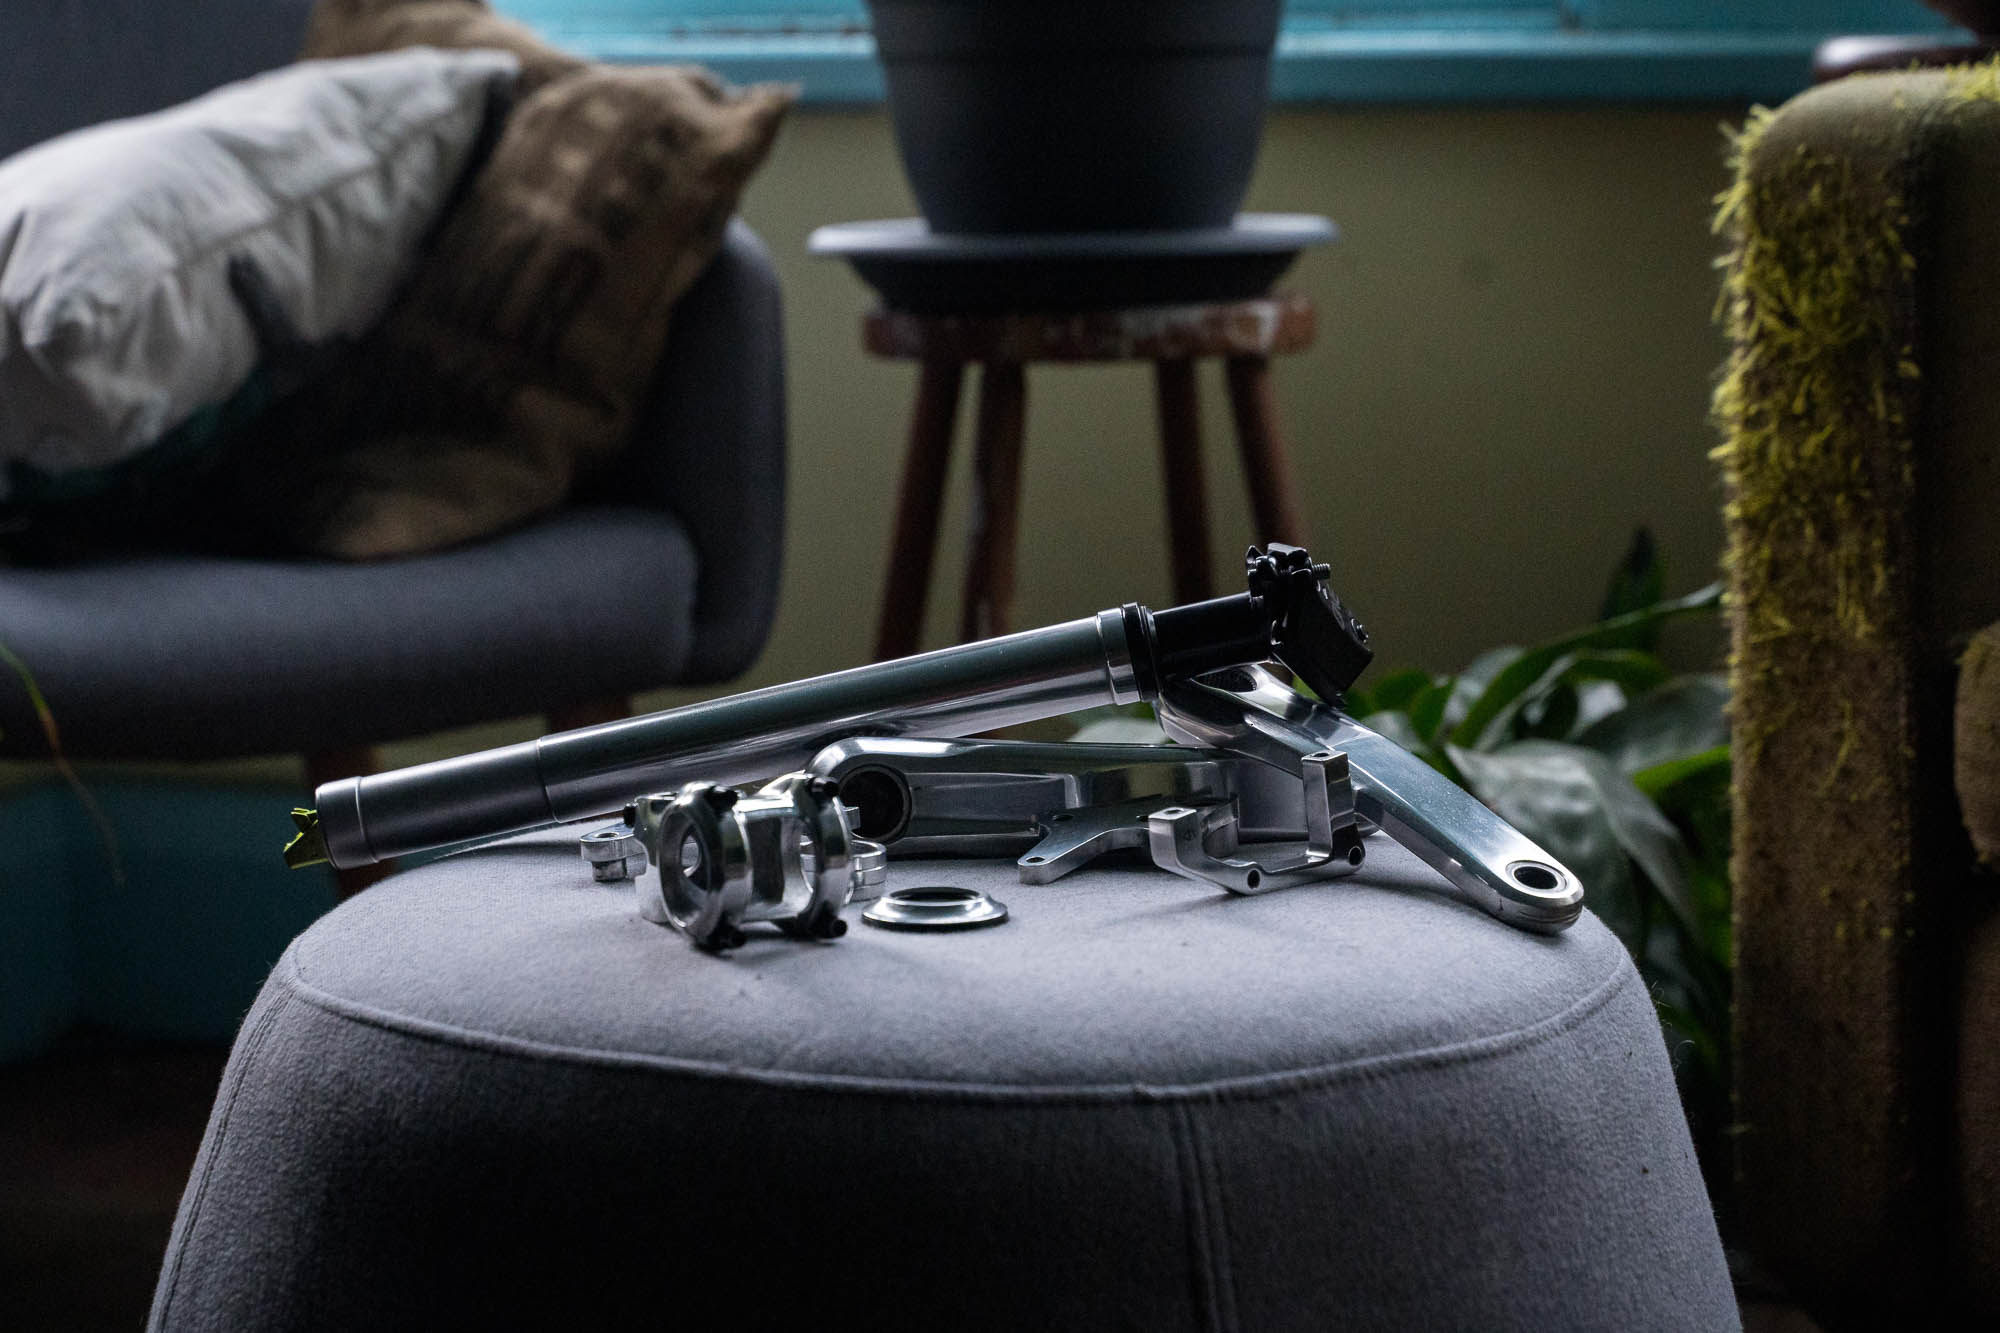
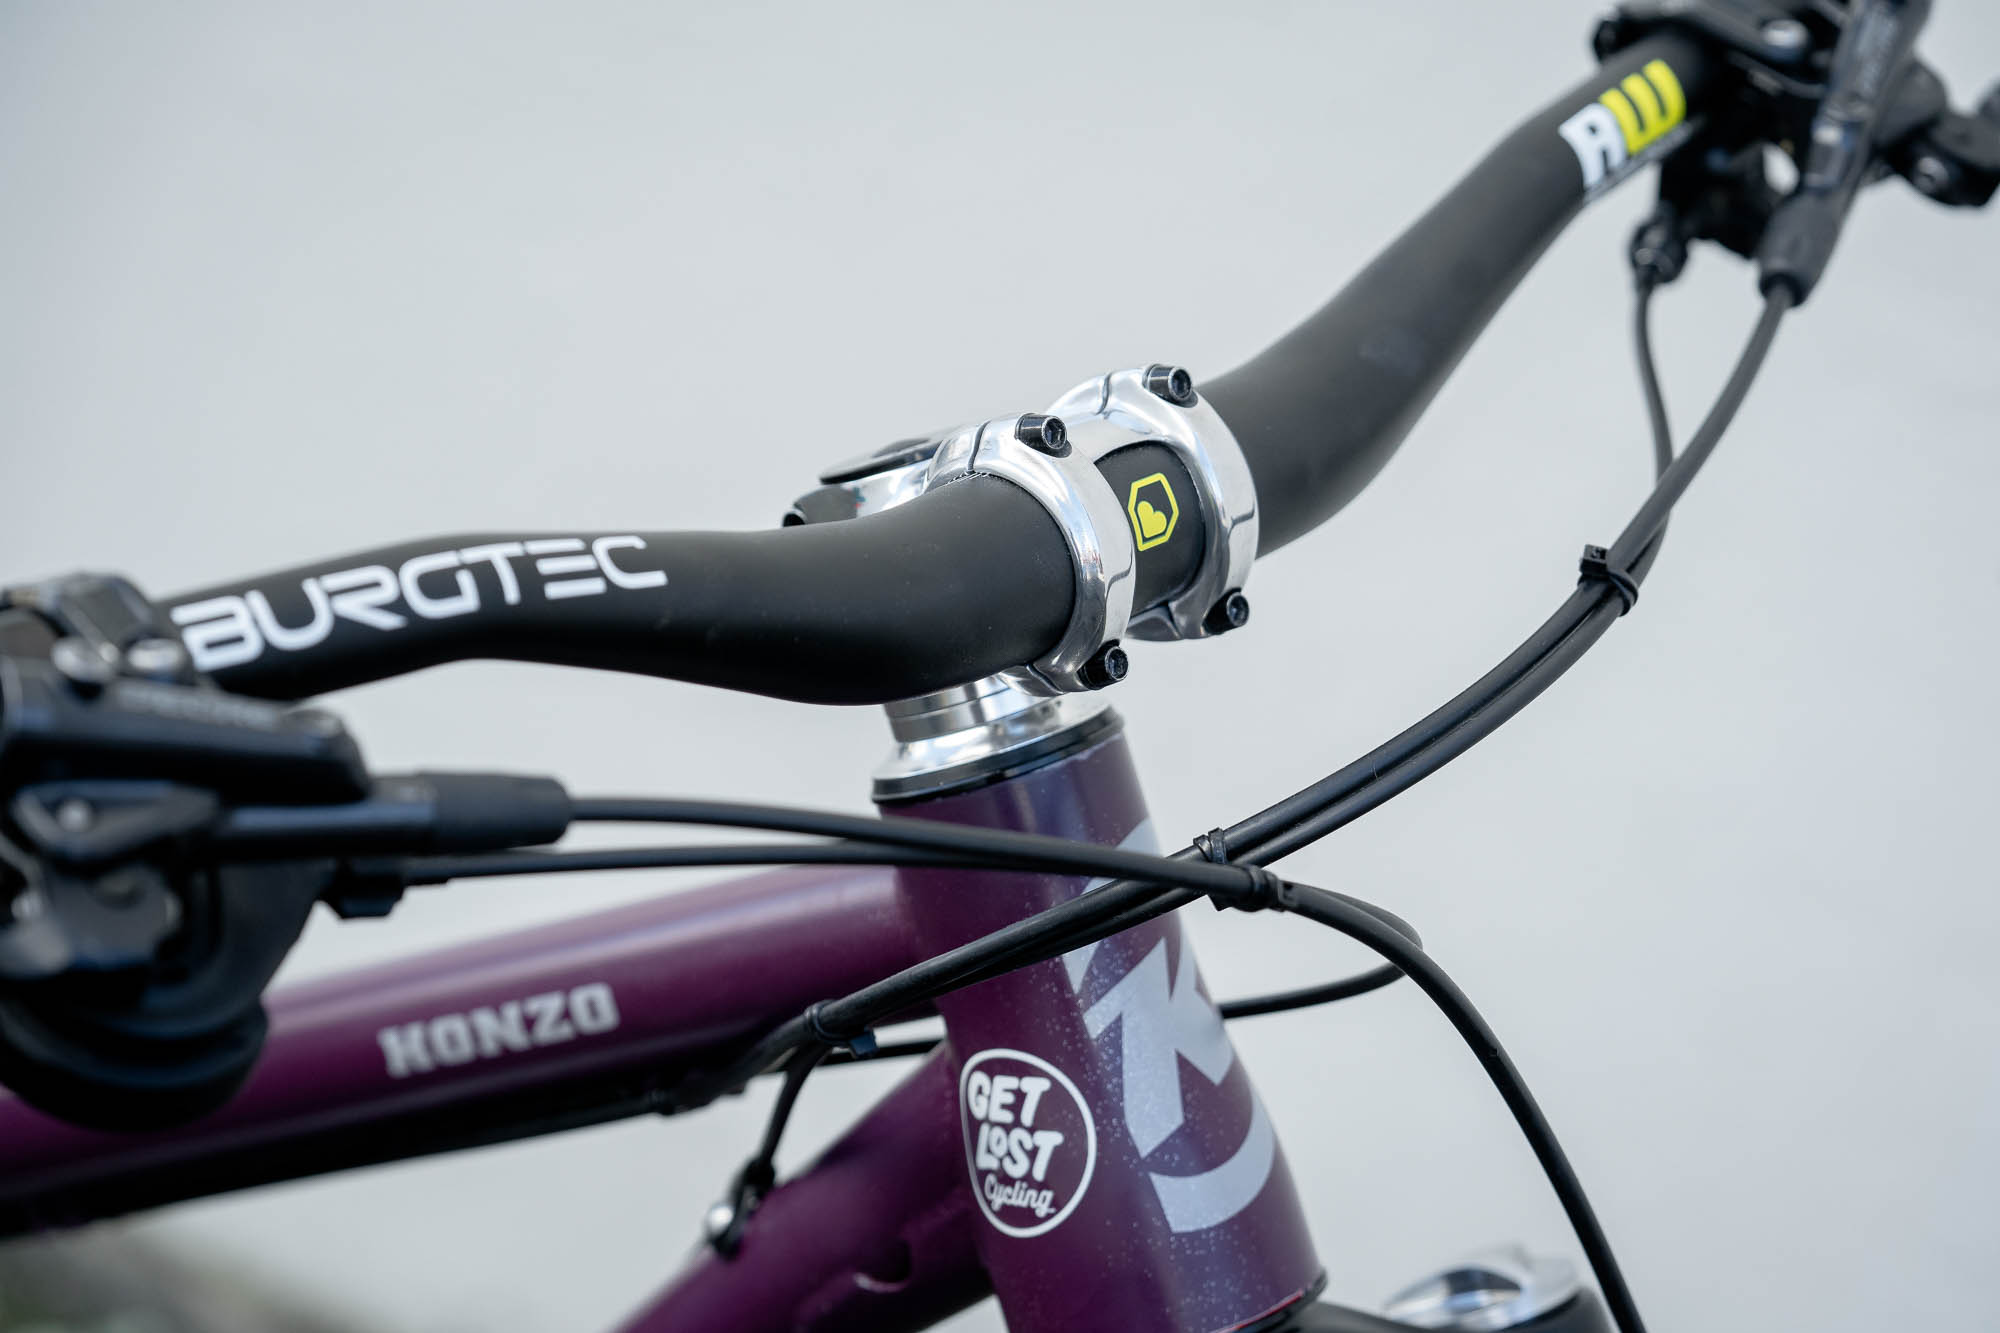
I thought I would give it another go. This frame deserved some silver. The process started by removing the anodizing. Caustic soda was the weapon choice for this. Followed by some sanding with wet and dry paper and finishing off with some metal polish. Some items were really quick. Other, not some much. The Kona stem took the longest. The Original finish is quite rough. It needed to be smooth for the look I was going for. Many hours of sanding later and we got there.
(Again don’t do this)
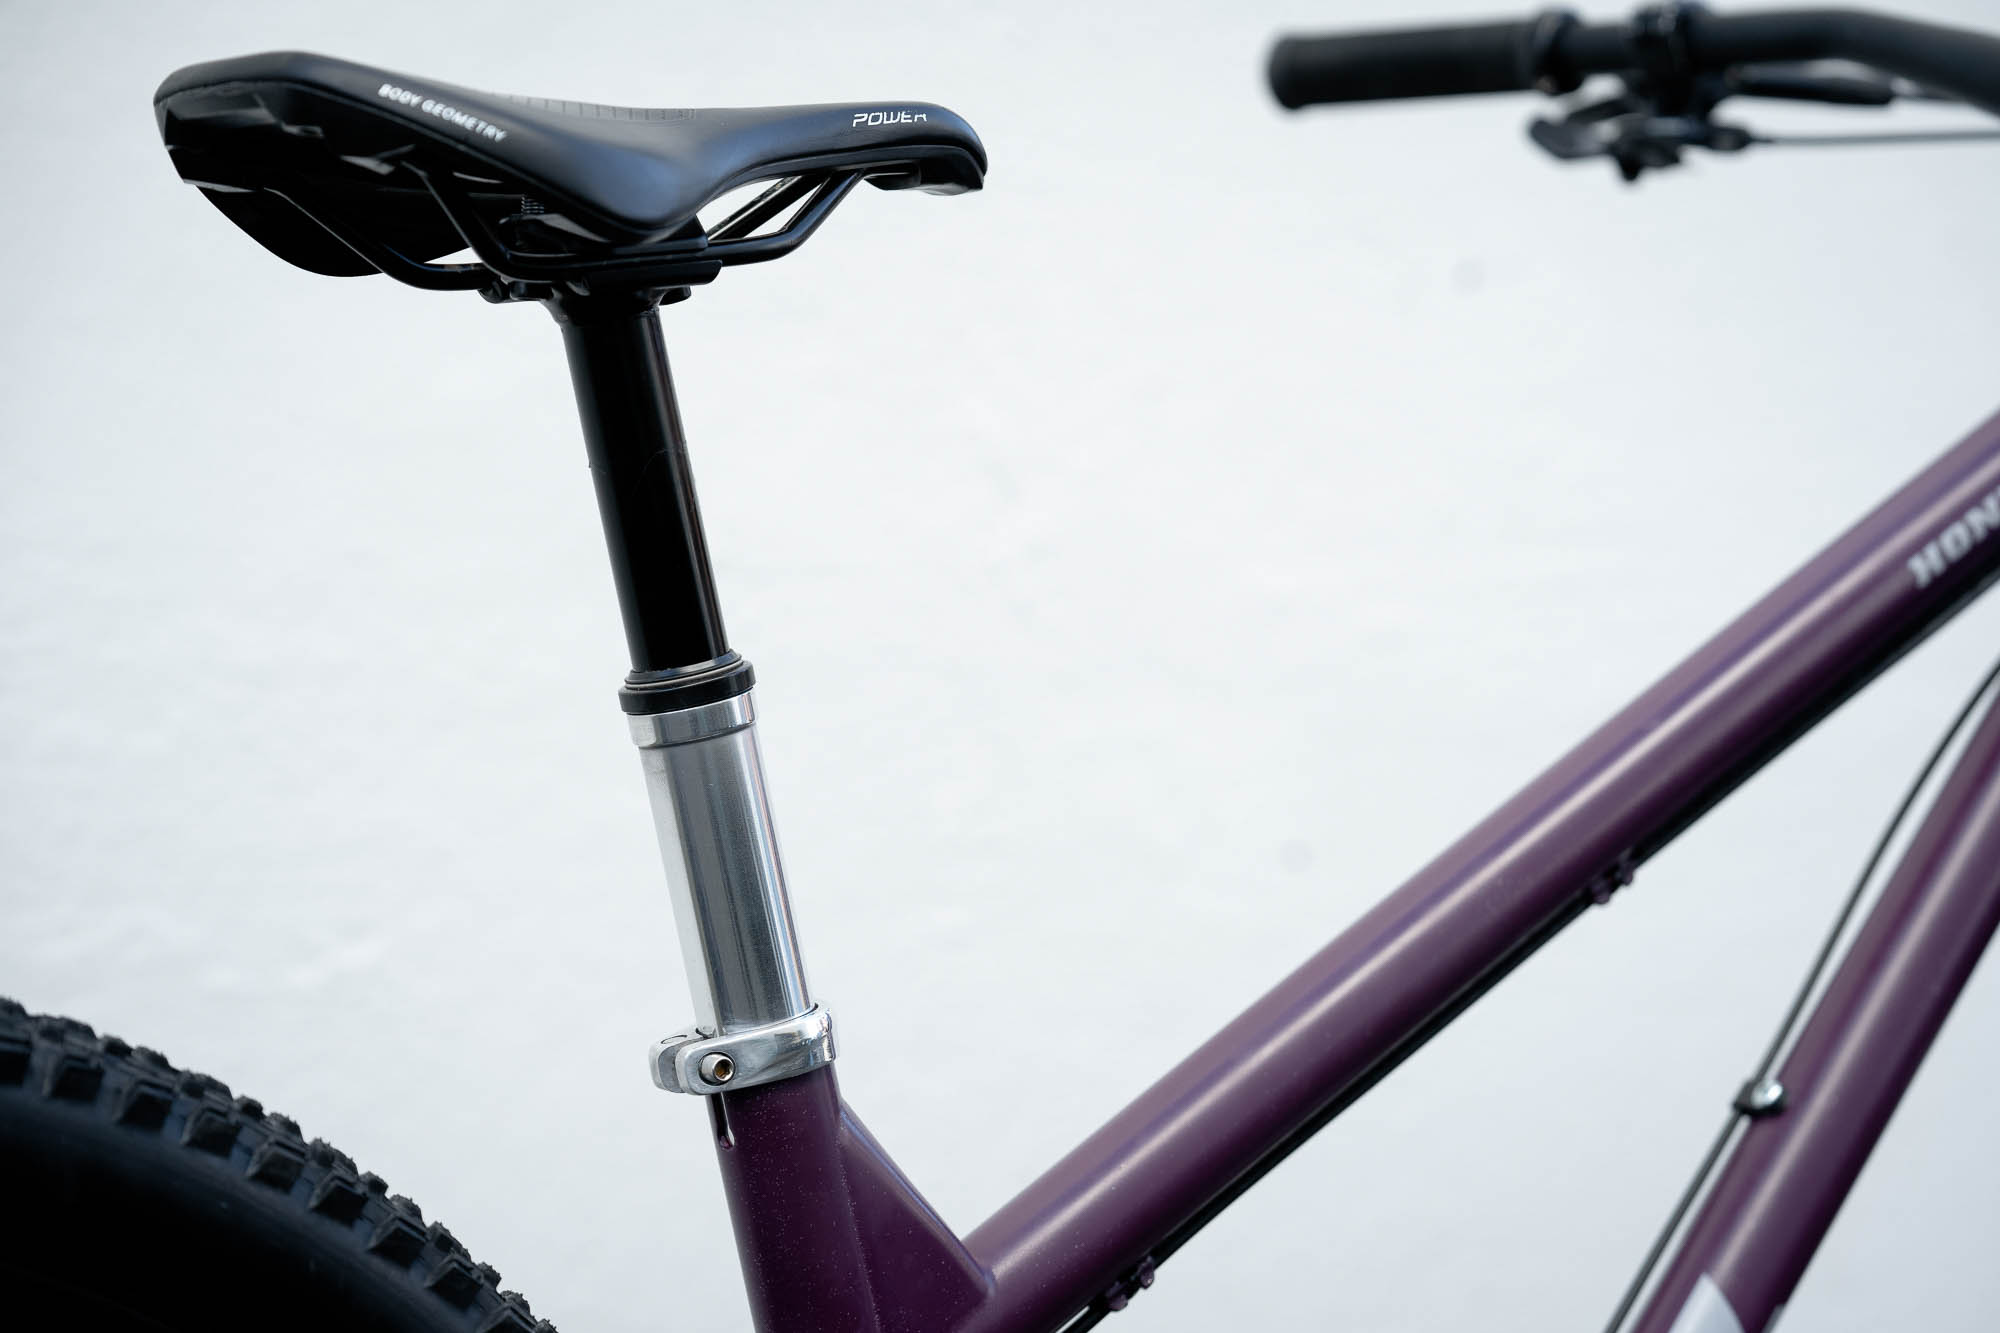
Another concern was the seat post mast. Removing the anodizing does remove a small amount of material from the post. I was worried about it taking off too much and the seat post not clamping very well in the frame. To my surprise though it must have taken off very little as the laser etching is still visible.
I think I spent about a week getting all these parts polished up. All the polishing was done by hand. I was stoked with how they came out as well.
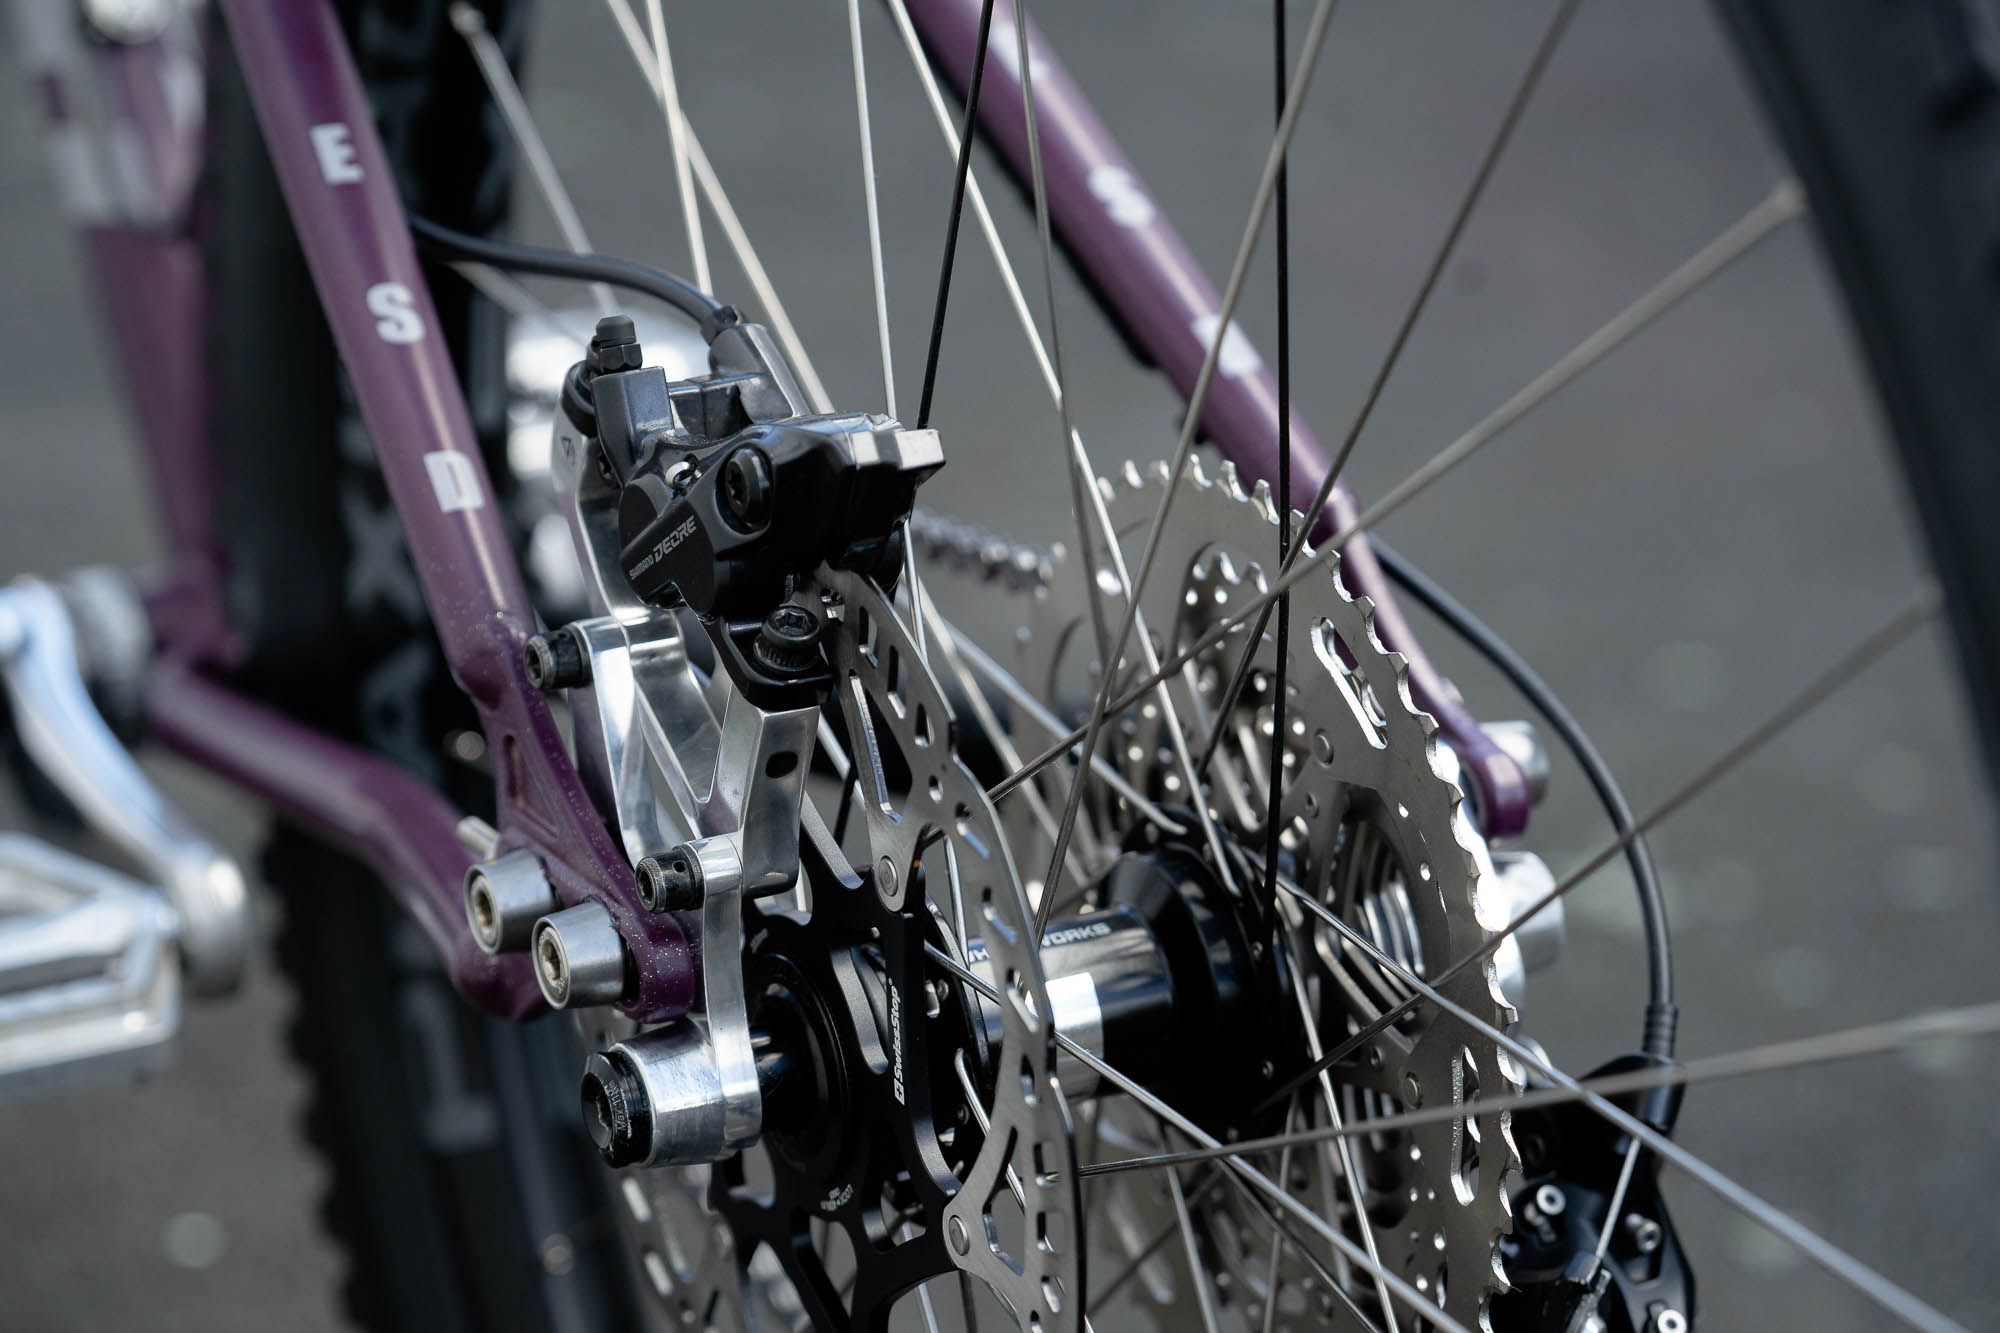
The build consists of a Marzhochi Z1 upfront. The perfect hardtail fork in my opinion. They are cheap(ish), reliable, work great, and easy to service. My favourite bars, the Burgtec 35mm alloy, is held in place by a 40mm Kona stem. I love this Burgtec bar. It’s got a great shape and a good feel to it. Grips are just some used ones I had lying about.
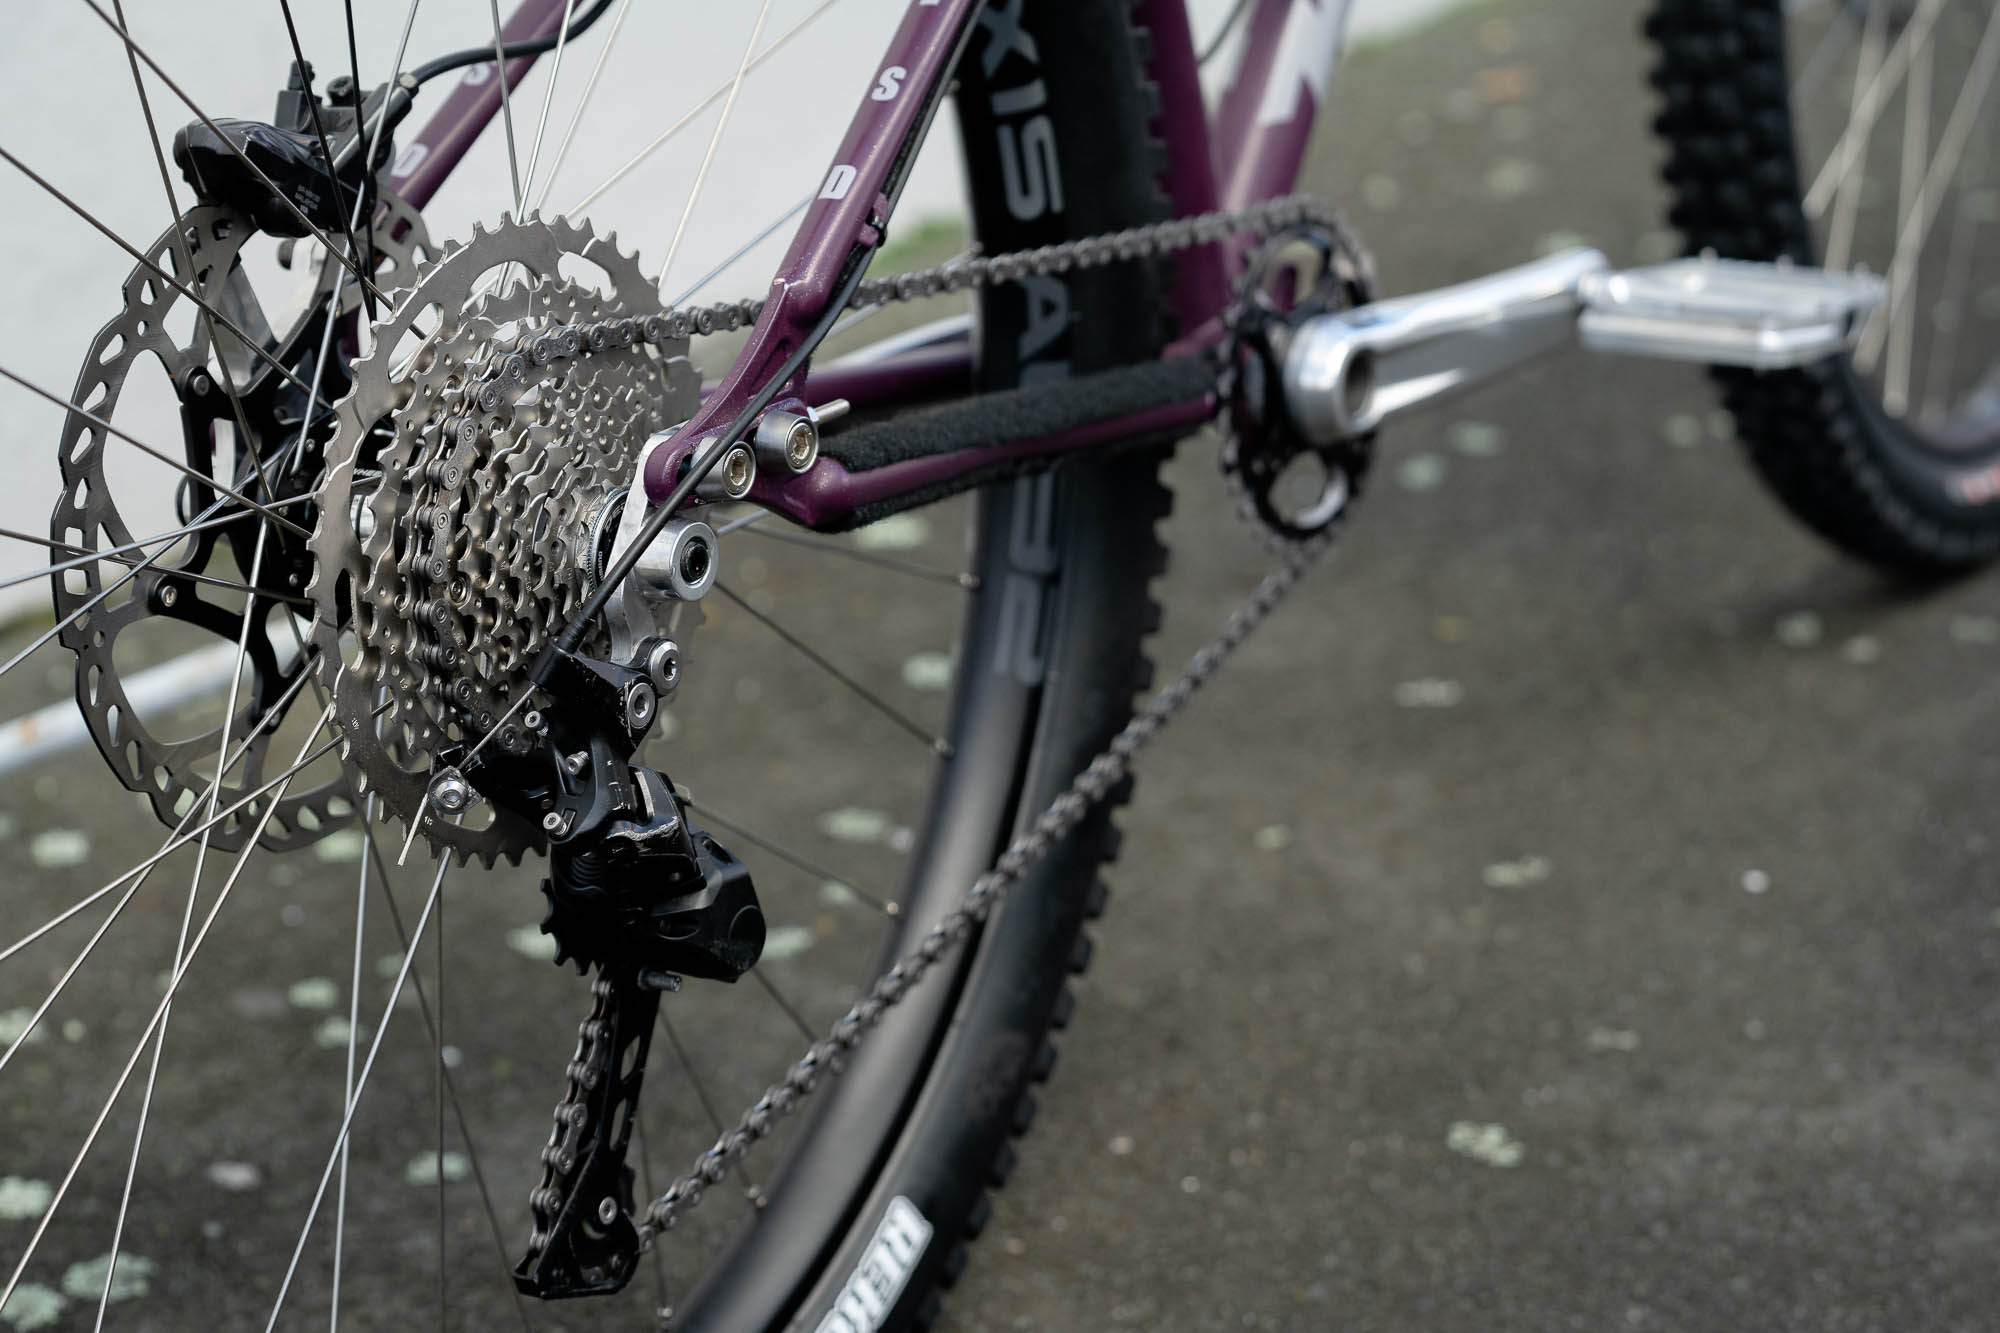
Shimano Deore 4 pot brakes take care of the stopping dues, again they are cheap and have enough power to them. I’ve got some Swiss Stop 203 rotors on there. I’m testing them out to see how they go. So far so good.
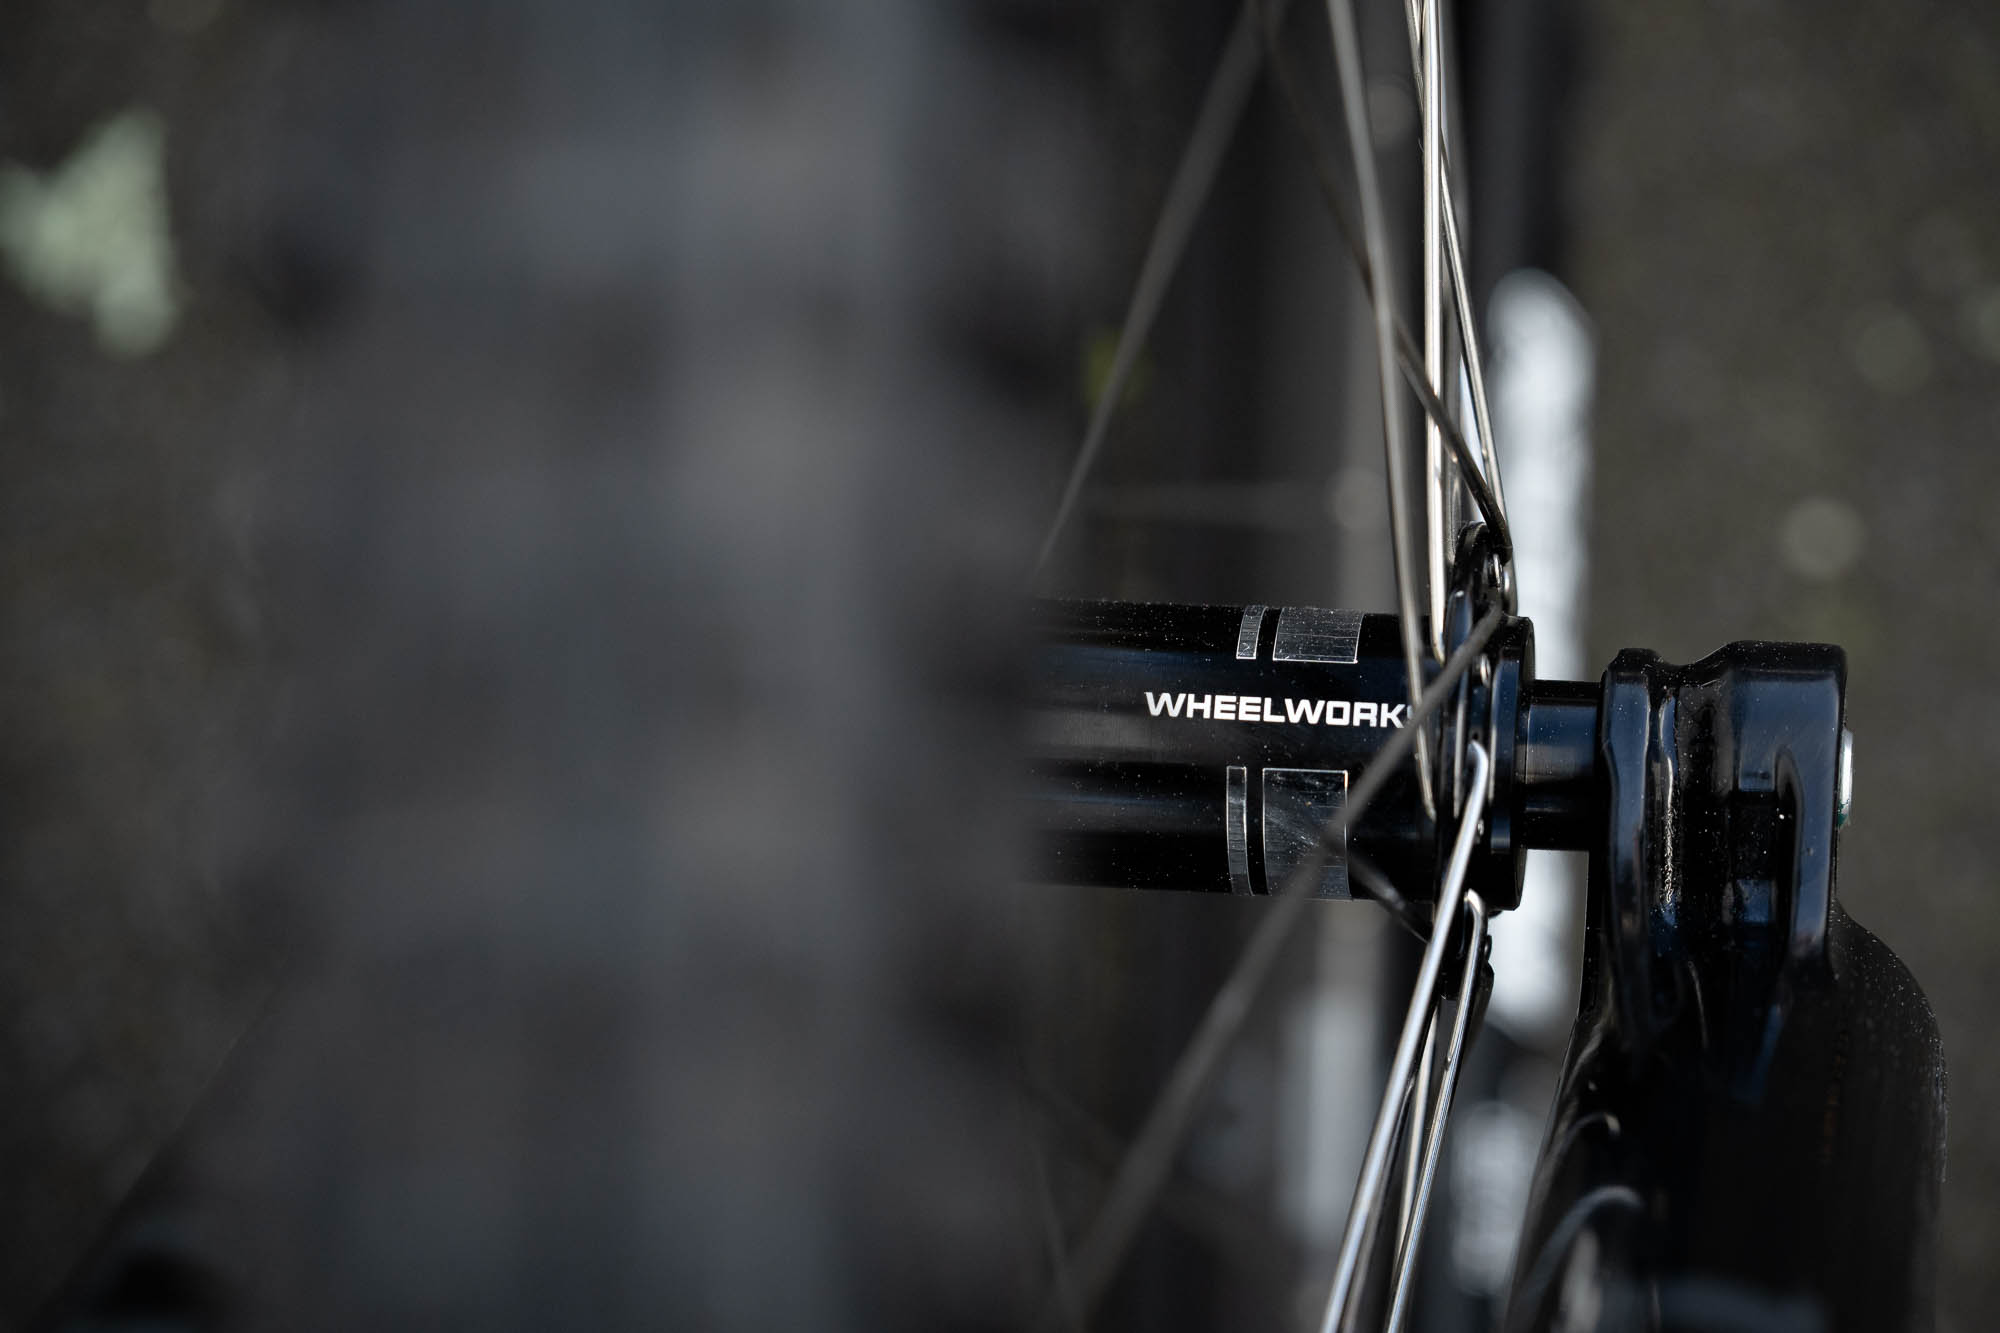
The wheels are a little bit special. I’ve got my favorite alloy rims laced to some Wheelworks Dial hubs. I had the Praxis AL32 rims on my hardtail before and never had any issues with them. I never managed to dent them and never had to true them. They come in pretty light as well. I highly recommend them. I work at wheelworks and the Dial Hub is our in-house brand. It’s a great design. 72 points of engagement, super reliable and easy to work on and boy do they roll well.
Both rim and hubs are put through a special measuring device and then put into custom software to work out the exact spoke length. The spokes are then cut to 0.1mm of give length.
During the wheel building process, the wheel goes through the Grimlock. A machine that stresses the spokes. It’s a pretty amazing process that produces some great wheels.
Maxxis Assegai up front and a reckon 2.6 in the back. Cushcore in the rear.
My old beat up SLX cranks polished up like a dream. A 30t oval OneUp switch ring takes care of holding the chain on while Mark 5 Burgtec pedals hold my feet in place.
Out back you will find my beat-up three-year-old Deore M6000 mech shifting a 10speed Deore cassette and the cheapest chain I could find. It still shifts better than anything out there even with the flogged Zee shifter Reddog gifted it. You really can’t beat 10 speed Shimano. Even bent, beaten, and flogged it shifts better than most things out there.
And rounding it out is the polished one up 210mm post. Best post out there for the money.
One day I’d like to try the Mircoshift Advent 10x groupset on this bike. I think it might be the perfect drive chain. I’ve had the product in my hand before and it looks great. I’d also like to give the TRP DHR Evo’s a go. If there’s anyone from these companies reading these then hit me up haha.
But overall I think this is the perfect hardtail. It does everything. It’s got cheap strong reliable parts on there. It’s never going to let you down. There’s no real weak link in this bike. It’s perfect for me.
I’m sorry bob (the Process X), You’ll be taking a bit of a sideline for a few months.

